On the DeNoise bandwagon

It seems that when Adobe does create a decent update of Lightroom and ACR, the internet is humming with news about the improvement. This time, it’s no different. The new DeNoise feature in Lightroom and ACR are absolutely amazing. The last time I blogged about that was in…

One or many

Recently (again) a question popped up in my feed about the number of catalogues to be used in Lightroom. This is only about Lightroom Classic, as Lightroom (the cloud version) only uses one place (catalogue) online to store your stuff. Mixed in the argument was also the matter of being a “pro” or not.

imageI usually don’t like to go into the Pro/Amateur discussion, but perhaps here it can prove a point.

From 2TB to 4TB

As I have stated in earlier posts here, my 2TB drives started to get full. On top of that, one of them seemed to have some “hiccups” from time to time. Nothing serious, just a file “slowing down” to a crawl when accessing it. Copying the file and renaming both copy and original solved that issue. Yet a disk check didn’t reveal any issues. So it was time to replace the drive as I couldn’t trust it 100% anymore.

End of year backups, should I use cloud storage?

It’s the end of the year. 2020 has been a trying year for many of us. The year when plenty of things went off the rails. Your pictures should not become victims of 2020, though. A backup is really necessary for your peace of mind. Heaven knows this peace was disturbed in 2020.

Snow White and her challenges

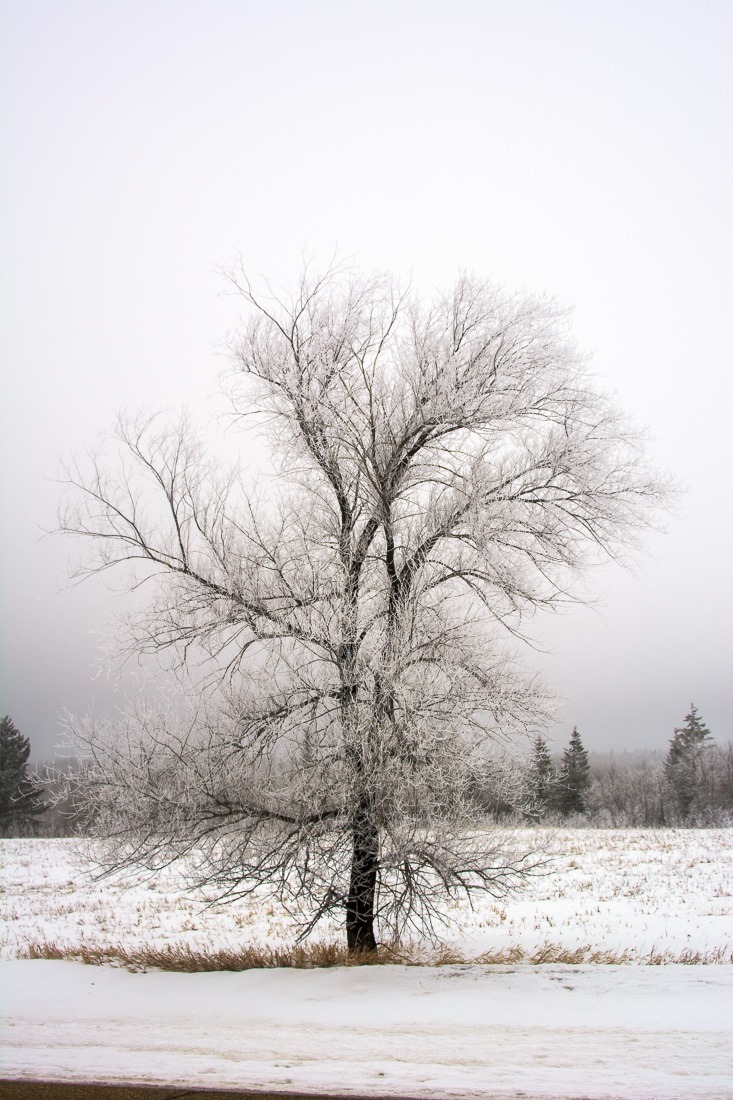
Photographers will tell you that snow is anything but white. Snow takes on any colour we give it and makes it bright.

Clearly our cameras don’t see the world as we do. Apart from any defects we might have developed with age, we always rely on our eyes to see the best in the world. So, white is white and we won’t budge from there. That’s where cameras and people start to disagree and corrections have to be made.

Warming up a picture

Sometimes, a picture is just too “cold”. With cold, we usually mean too much blue, while astronomers see blue as a “warm” temperature and the red/orange colours are on the “cool” side of things. But let’s not confuse ourselves here. A “cold” picture is a picture with too much blue or a lack of orange/red hues. So how can we correct or change that in Lightroom?

A Fall image from start to finish

By now you will have noticed that I am in no way a photographer to manipulate my pictures to no end. Yet sometimes, a shot can be made dramatically better with a few adjustments. Most of them are in Lightroom, a few more tricky ones are done in Photoshop. By no means is this a do-all-end-all workflow, but it may show you some tricks to improve your own shots with minimal effort. There are plenty of Youtube videos out there that show you people skilled in their trade pass brushes and menus at light speed, leaving you in awe of what they’re capable of. That is exactly what they want. They don’t want you to learn, just to show off what they can do. So let’s do this step by step so you can follow on one of your own pictures. Make sure you have LrC and PS handy, both come in the Photographer’s Subscription from Adobe.

Bleeding Lightroom

A while ago I went to take pictures of some waterfalls in Manitoba. It was kind of a few hours driving from Winnipeg, so not something you do in a morning. You like to prepare your shoot and come back with the results envisioned. But things not always go as you plan. Case at hand, a nice shot of the waterfalls, only to be marred by a person that would not budge. I had waited for 30+ minutes for her to go away, but every now and then she looked over her shoulder to see if I was still there and then moved over a tad. But she remained in the shot. Once I had enough of it and started packing up my gear, she decided to move. I put my gear back and she came back. Adamant that she should be in my shot, apparently.

Photographs and (no) keywords – how to organize this?

A few months ago I bought a small film scanner. One of that $200 kind that scans one frame at a time. It scans surprisingly fast and fairly good quality. I wouldn’t use the scan as a basis to make a print, this is more for archival purposes. For that reason, I also don’t throw away my old negatives. When my parents passed away, I got all of their films, slides, and negatives. Along with my own films that I had forgotten about for nearly 40 years.

Weight loss in Lightroom

It seems to be on everyone’s mind nowadays. Lose weight and you live longer. I was told the same thing years ago, but I didn’t know we could have the same credo for Adobe Lightroom. When we create a panorama or HDR picture, the resulting DNG is rather… big. I’ll show you how to reduce this, keep the quality and recover the disk space wasted.

The extra pixel for your images

For a long time I have been lazy. Lazy with my landscape photos. While stating that “If I need more than 30 seconds to make the image look good, it’s trash” might be an idea, some images still deserve a little extra to show up nicely.

20200229-DSC_3990-PC Whites

Let’s start with the final result of a very simple image.