It seems to be on everyone’s mind nowadays. Lose weight and you live longer. I was told the same thing years ago, but I didn’t know we could have the same credo for Adobe Lightroom. When we create a panorama or HDR picture, the resulting DNG is rather… big. I’ll show you how to reduce this, keep the quality and recover the disk space wasted.
Let’s start with a simple panorama.
I made this with 10 shots of a nice sky in a parking lot. Nothing to write home about, but perfect for showing this trick in Lightroom.
Each shot in the 10 shot pano was about 25MB big:
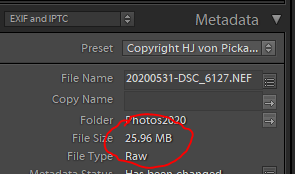
For 10 raw files of this size, one may expect a resulting panorama of 250MB or a little less, since there is overlap between the different shots. So when the result comes back like this, we are usually perfectly happy:
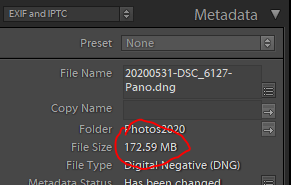
Today’s storage is cheap, I have said this in other posts as well. Cheap, yes, but not to the point where I am going to throw away that space as if it costs nothing. Since this is the result of a panorama based on 10 individual raw files, it is possible to say that you export the pano and then throw it away. But I like to keep the results in my catalogue as well, so that I don’t have to imagine what the pano looked like when I needed it. Also, when blogged or exported in different versions, I like to see the specific result that I was thinking of.
Exporting it as a JPG is possible, but then I no longer have the RAW possibilities to play with the shot. So I export as a Full Size DNG instead. Once exported, I tell Lightroom to reimport that same shot into the catalogue and put it in the same folder as the originals. That way my backups will not be fouled once I do those (about once a week).
These are my export settings for this:
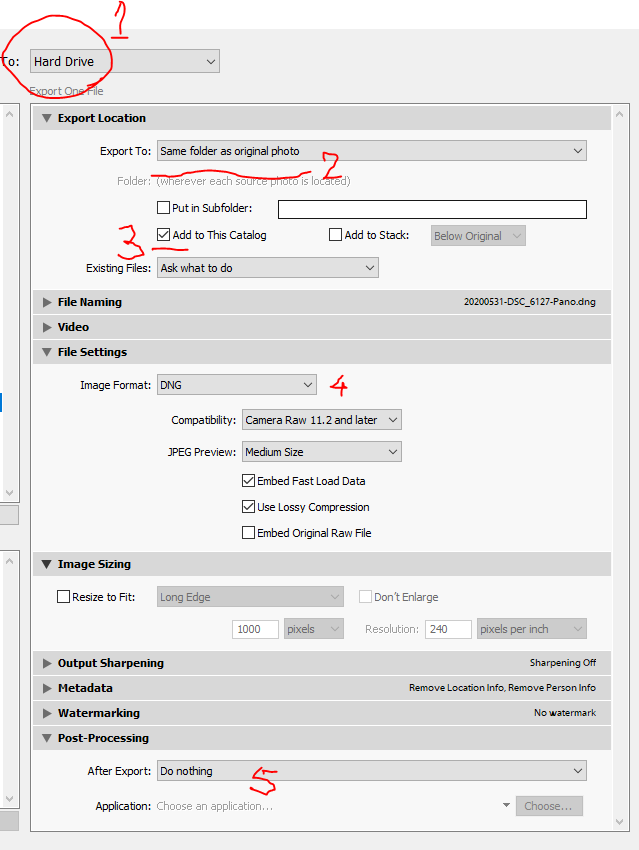
- Make sure to export to Hard Drive – you should have write permissions already to this area
- Export to the same folder as the original
- Add the result back to the catalogue. Let LR do this, it will save you a lot of hunting and aggravation.
- Export format: DNG. The most versatile raw format we have at this time as it conserves many of the camera settings as well, unlike TIFF that will discard them. Make sure the "Use lossy compression" checkbox is checked.
- After export, do nothing and get back to Lightroom.
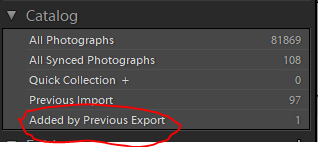
In case of panoramas made by Lightroom, you may need to simply use unique names to not overwrite the original while you still need it. The export takes a few seconds and the result comes back into Lightroom in the “Added by previous export” collection:
As for the resulting file size, judge for yourself:
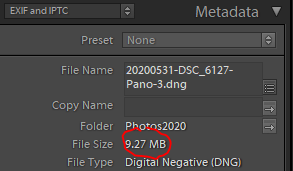
The quality difference is not noticeable, which makes me think that Lightroom first creates a simple copy+append DNG file for panoramas. At any rate, not an optimised file. Now you can still work on the result in Develop, with all the camera specific features (like Lens profile) that come with a DNG file.
The last step is to delete the original panorama DNG file from catalogue and disk, since that file is too big.
Should you not trust this slimmed-down version of the panorama, you can always regenerate it on the fly. Gaining 86%, just by exporting and reimporting is a nice bonus. For those interested in what this panorama finally was, here is the result, from the slimmed-down DNG, not from the bloated one:
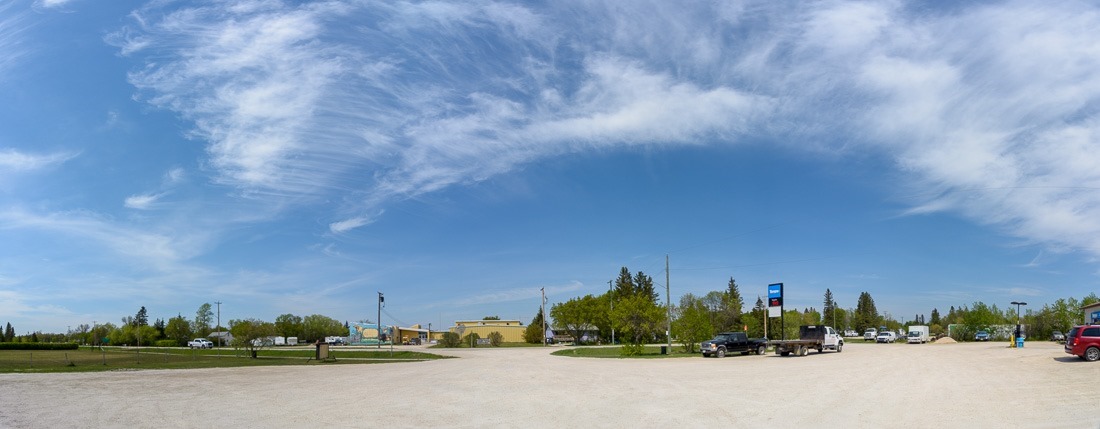
Not much of a shot, right? Certainly not one to waste 150MB on.
Weight loss in Lightroom, to make you disks last longer.
