Sometimes, a picture is just too “cold”. With cold, we usually mean too much blue, while astronomers see blue as a “warm” temperature and the red/orange colours are on the “cool” side of things. But let’s not confuse ourselves here. A “cold” picture is a picture with too much blue or a lack of orange/red hues. So how can we correct or change that in Lightroom?
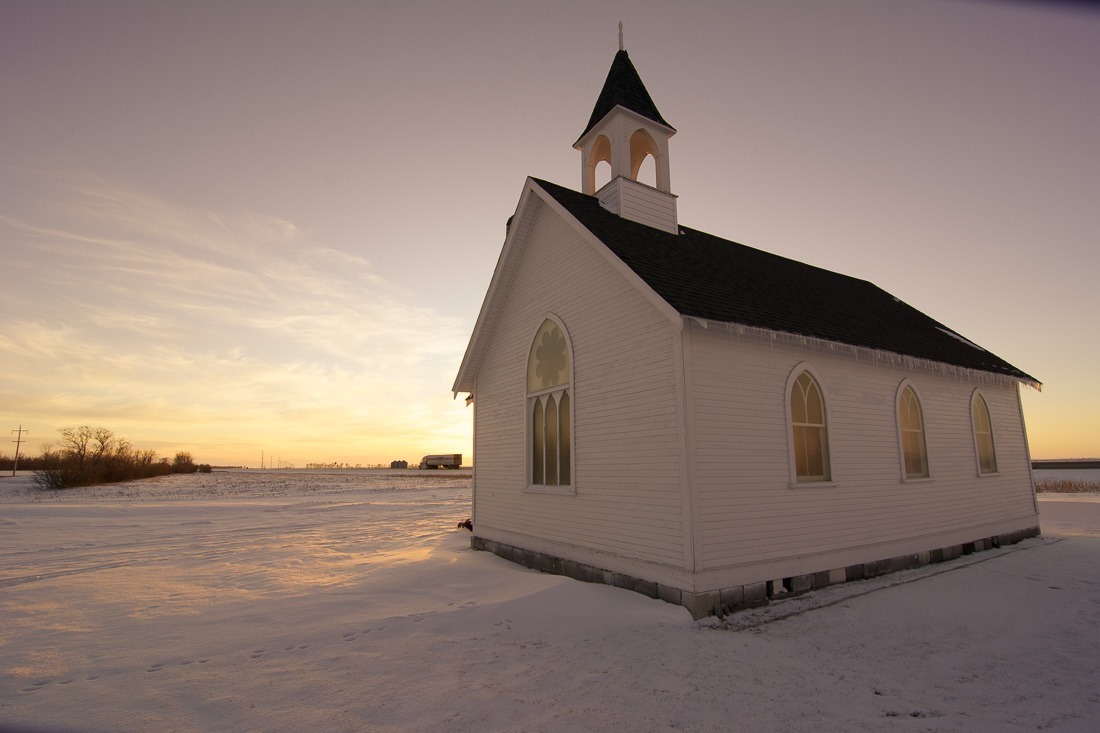
There are plenty of ways. Ever since Lightroom 1.2 there has been a Tint+Temperature slider giving us control over the overall colour of the picture. So lets take a very bland, cold looking picture like this one:
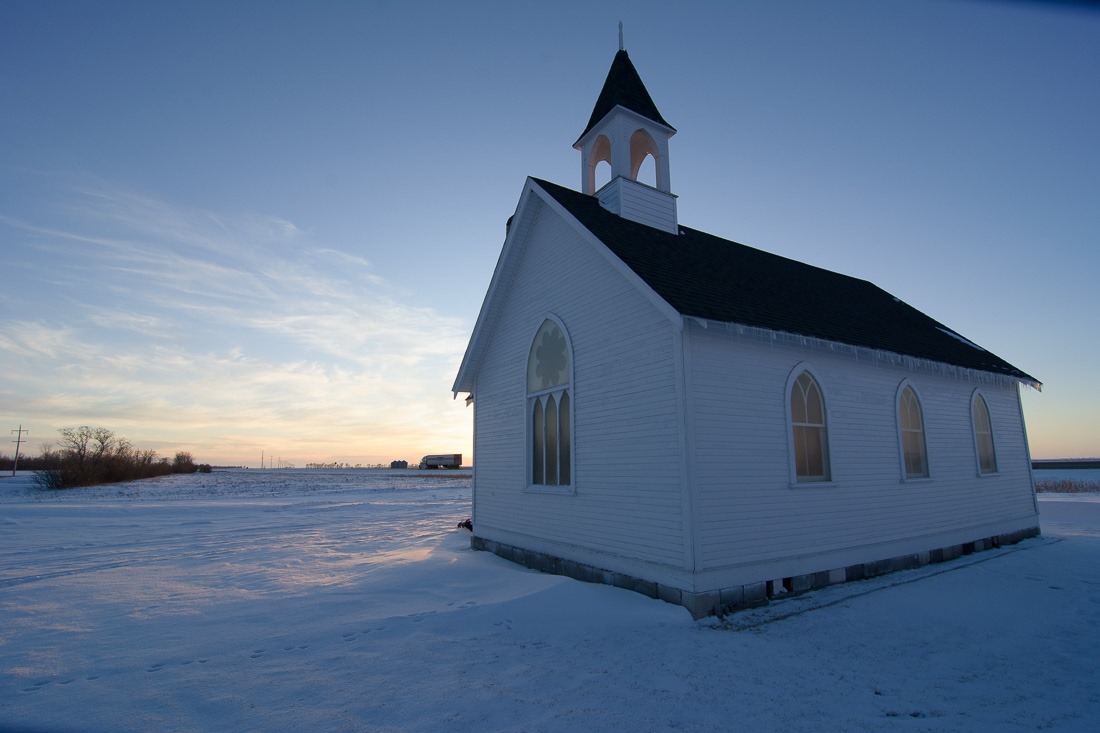
On a cold evening, yet closely before sunset, during the so-called “golden hour”. Yet not much warmth comes from this picture. This one is “straight out of the camera”, meaning that apart from the conversion from raw data to a visible picture, no other development has taken place. You may like it, or not like it, the emphasis lies here on the temperature, not on the overall pleasantness of the picture ![]() .
.
The first thought is usually to change the Temperature slider in the Basic panel in Lightroom like this:
From this: 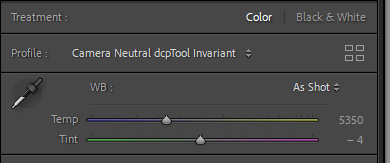 to this:
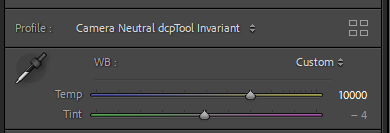 The picture now gets a different look with only one slider moved.
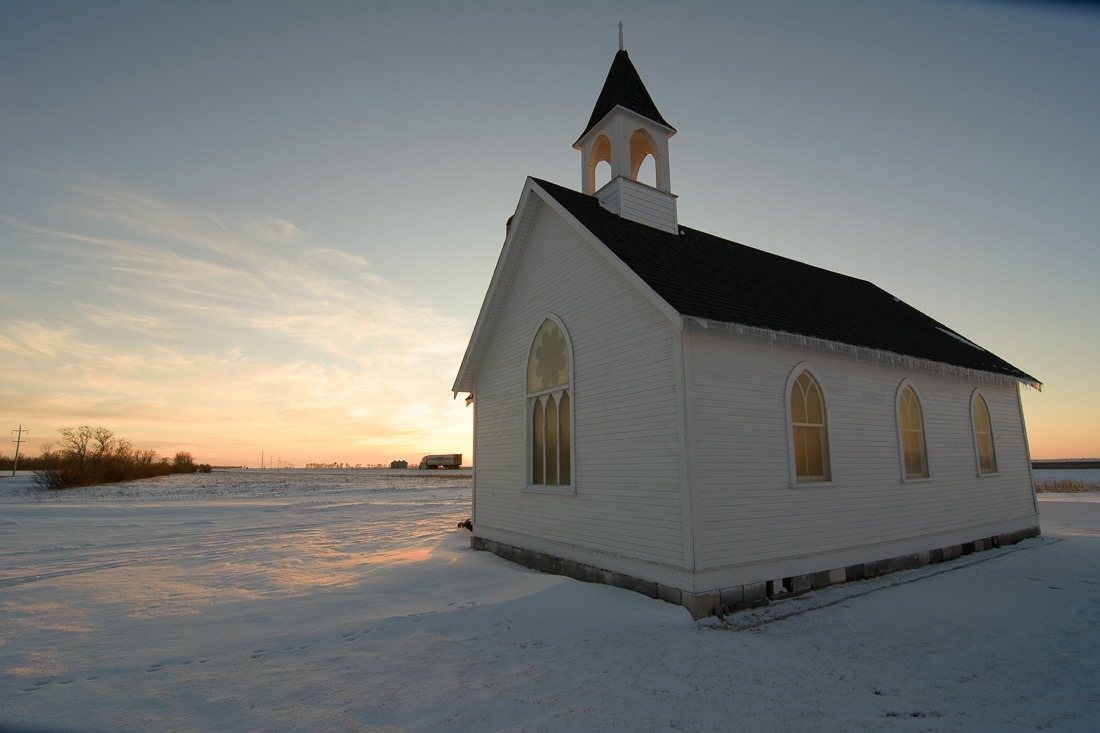
As you can see, much of the blue hue has disappeared. Yet the sky now looks weird. No more blue, a grey-ish orangey sky. Not a sky I have ever witnessed myself. Not even after a few glasses…
The next tool is the gradient. A gradient that I pulled from outside the picture, over the other edge of it, making it cover everything evenly.
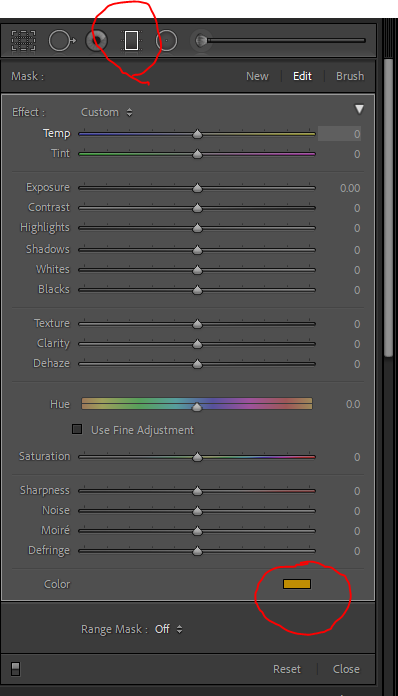 As you can see, only the color selector was used, no other settings were applied..
The picture now looks like this:

Again, all the blue is gone from the sky, warming up the picture, but still, this is not what I like.
On the newest addition to Lightroom, the Color Grading tool. It replaces the older Split Toning toolset.

Using the global Adjustment (that circle on the right at the top of the panel) , then pulling the centre of the color circle towards the orange. My picture now comes out like this:
All in all not bad, but the nice blue sky tends to keep bugging me. It becomes a grey-ish sky, something that is not what I like in my pictures. Yet here you have the 3 basic ways of warming up your picture.
For MY purposes, my preference goes to the Gradient Filter. The reason for that is that it comes with a brush that allows me (by pressing the Alt/Option) key to subtract or eliminate the gradient’s effects from the brushed areas.
As an illustration, my little church here could look like this:

I simply used the Brush (in the top right of the Gradient panel, pressed ALT on my keyboard and created a nice, soft brush, with plenty of feather and a low density. You can see the careless brush stroke on the roofline of the church (left) where I removed a bit too much of the gradient effect.
Yet the gradient tool being not global allowed me to get an overall “acceptable” image, colour-wise.
