Photographers will tell you that snow is anything but white. Snow takes on any colour we give it and makes it bright.
Clearly our cameras don’t see the world as we do. Apart from any defects we might have developed with age, we always rely on our eyes to see the best in the world. So, white is white and we won’t budge from there. That’s where cameras and people start to disagree and corrections have to be made.
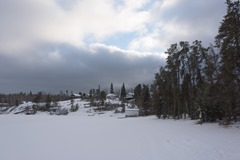
My latest post had some nice images of snowy landscapes and subjects. All from 2020.
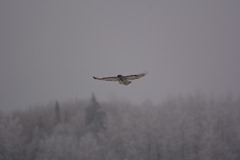
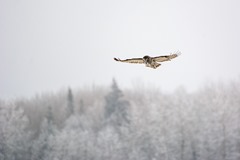
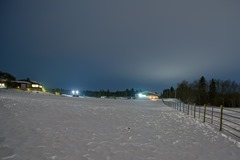
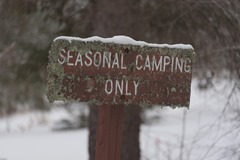
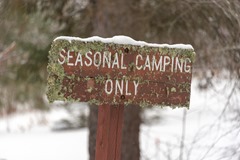
So just for the fun, I will put the camera’s view and what I saw (or think I saw) side by side. It always reminds me of my holiday pictures of a trip to Norway, somewhere in the ‘80s. What I saw as beautiful white snow, the camera (or the processing centre, I don’t know) decided that all that snow was murky brown. Useless to say that nobody was impressed with my photography skills that summer.
It kind of scared me to take more pictures of snow. The general consensus was that you had to “overexpose” the already white snow. Somehow that made no sense to me. Yet if we take into account that when a camera or development centre will see plain white it will want to equate it to 18% grey. In the case of film, the substrate colour will come into play and will darken the picture even more, rendering the snow murky brown in many cases.
Our modern digital cameras do the same. Present them with a bright white fog and the picture will be 18% grey at best. Now go and “interpret” that using a RAW converter from any vendor (Adobe, Skylum, etc) and your probably end up with a colour cast as well. RAW formats are not Open Source and need to be “Reverse Engineered” (a nice name for “Hacked”) to be used in other programs. As such, they are open for interpretation.
When I see the interpretation of different vendors to what I saw when I was “out there” shooting, I see that that interpretation needs a bit of correction.
That’s where the Develop module of Lightroom comes in play.
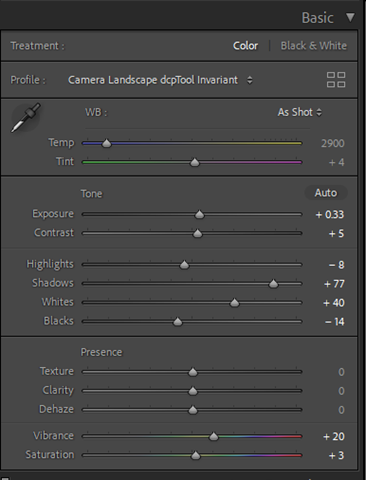
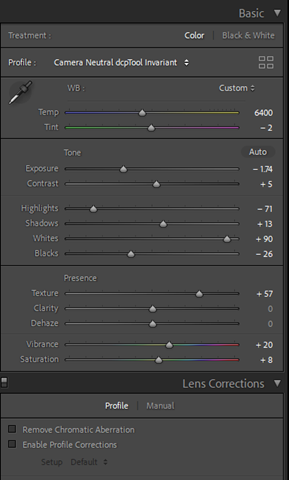
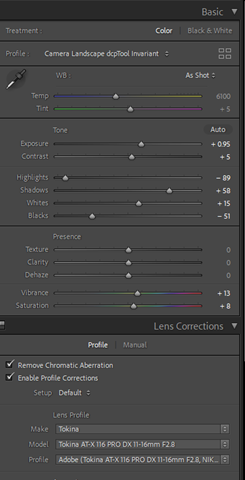
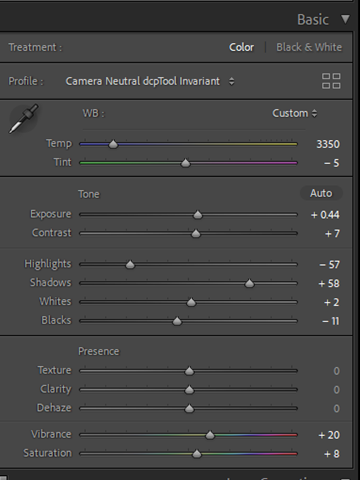
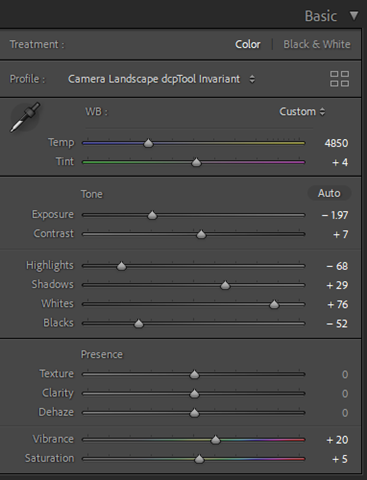
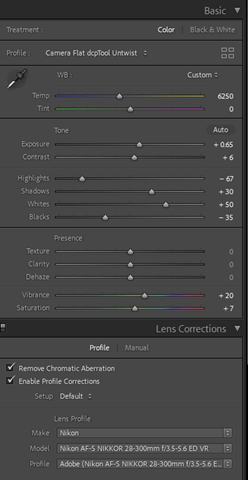
What the camera saw | What I saw | The develop settings to get it |
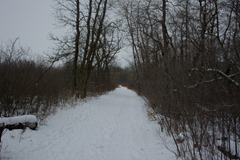 | 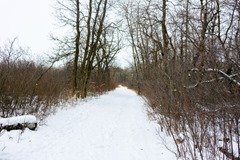 | 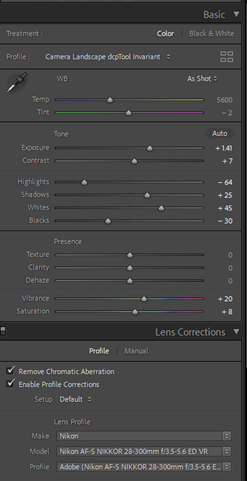 |
 | 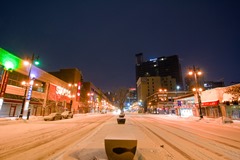 |  |
 |  |  |
 |  |  |
 |  |  |
 |  |  |
 |  |  |
 | 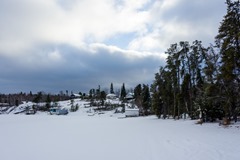 | 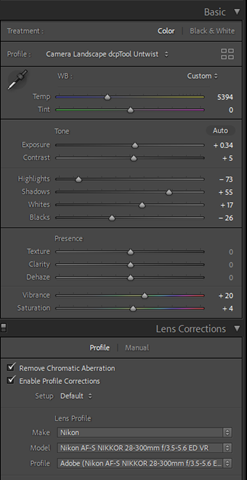 |
As you can see, the develop settings are fairly simple. Most have the Colour Profile set to something more pleasant than the “Camera Neutral” I usually shoot with, followed by the Auto Tone button, then a few small adjustments to my liking and then often a lens profile correction and in pictures with high contrast, a removal of chromatic aberration. All in all, a develop time of less than 30 seconds per picture.
I am a “realistic” photographer, meaning that I am usually not interested in torturing my pictures to show something else than what Nature gave me to see ![]() . Let’s say that even if this is “tampering” with a picture, it is merely correcting the flaws that both camera and RAW converters induced in the pictures. There is no Photoshop involved, not even for removal of sensor dust.
. Let’s say that even if this is “tampering” with a picture, it is merely correcting the flaws that both camera and RAW converters induced in the pictures. There is no Photoshop involved, not even for removal of sensor dust.
Now, here is the rub for the development of these pictures. YOU might not agree with what I did to the original files. YOU might have gone another route and might have done something different. I’m ok with that. Now that you have an idea of what I do to my shots, you can do what you want to yours.
