A while ago I went to take pictures of some waterfalls in Manitoba. It was kind of a few hours driving from Winnipeg, so not something you do in a morning. You like to prepare your shoot and come back with the results envisioned. But things not always go as you plan. Case at hand, a nice shot of the waterfalls, only to be marred by a person that would not budge. I had waited for 30+ minutes for her to go away, but every now and then she looked over her shoulder to see if I was still there and then moved over a tad. But she remained in the shot. Once I had enough of it and started packing up my gear, she decided to move. I put my gear back and she came back. Adamant that she should be in my shot, apparently.
Needless to say that I was starting to boil. The light was fading fast and the opportunity of shooting these falls the way I wanted was going away soon. So I decided to take the shot with her in it and see what could be done in post processing.
Here is that shot:
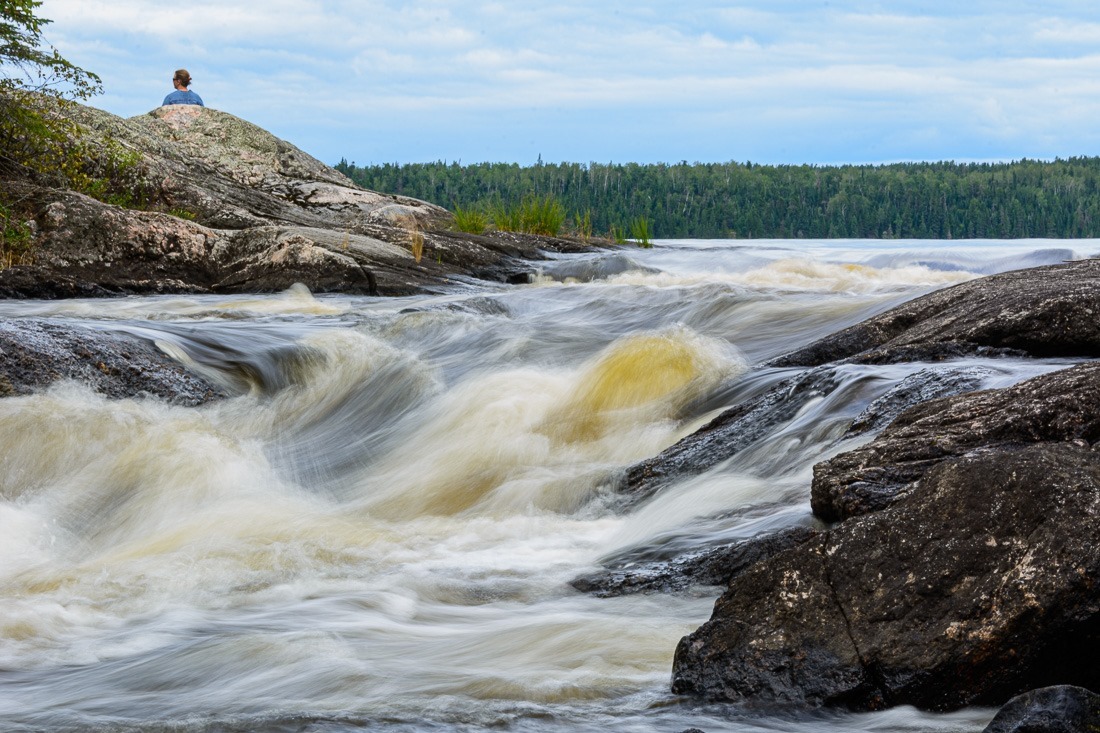
A bit of processing to get the look I wanted, but the person was still peeking over the rocks. Easy to take that one out in Lightroom, I thought.
That turned out to be a bit more of a challenge than I had anticipated. Using the spot removal tool in the adjustment panel, I systematically ended up with something like this:
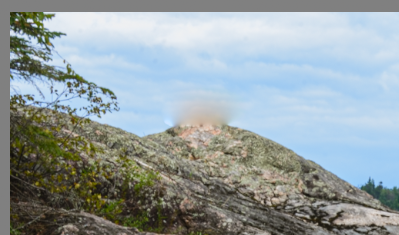
Whatever I tried, that volcano of colour remained in place. Since the sky had a some colour and texture, a simple clone of it gave a horrible spot, way too visible to present anywhere. To be honest, this scenario had come up several times, with landscape shots or even bird shots, where branches should be moved away from the bird’s head. Never a good scenario, right?
Right.
But there had to be a trick to get this done properly, without going into the dreaded Photoshop. Don’t get me wrong, I use Photoshop for a number of situations, but this shouldn’t have to be one of them!
So if Lightroom wanted to bleed colour, I would have to stem the flow.
First step, use the spot healing tool in clone mode and make the brush SMALL. then remove a strip of [subject to remove] as closely as possible to what needs to remain. In my case, the rocks.
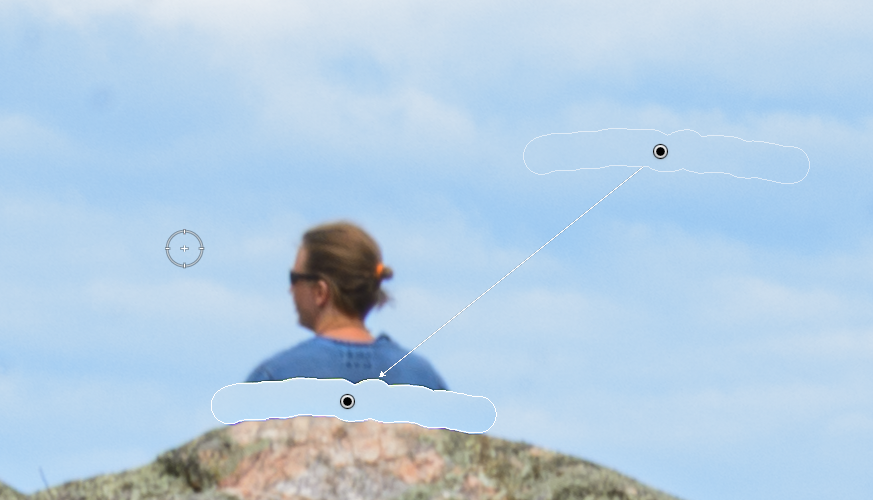
As you can see, the Spot removal tool has no feather, meaning no fall-off from the centre, merely a hard edge. the replacement near that rock is from the sky. The smaller the spot removal brush for this part, the less it is important where the source comes from, as it will simply be too small to see in the final result.
The next step is to remove the rest of the subject, using a spot removal too in healing mode, including a softer edge, aka feather.
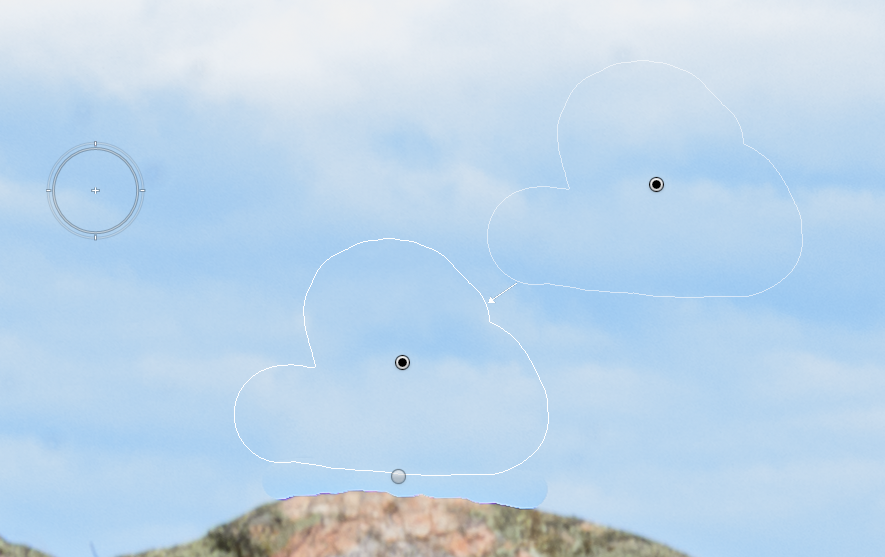
Here you can still see the hard edge of the first spot removal operation. The second one only touches into that first, but should NOT touch the rocks, otherwise bleeding will occur again. Using the healing function of the Spot removal tool ensures that the content get sufficiently mashed up that is will not be visible as a patchup of a picture.
The result of this simple, yet efficient method is this:
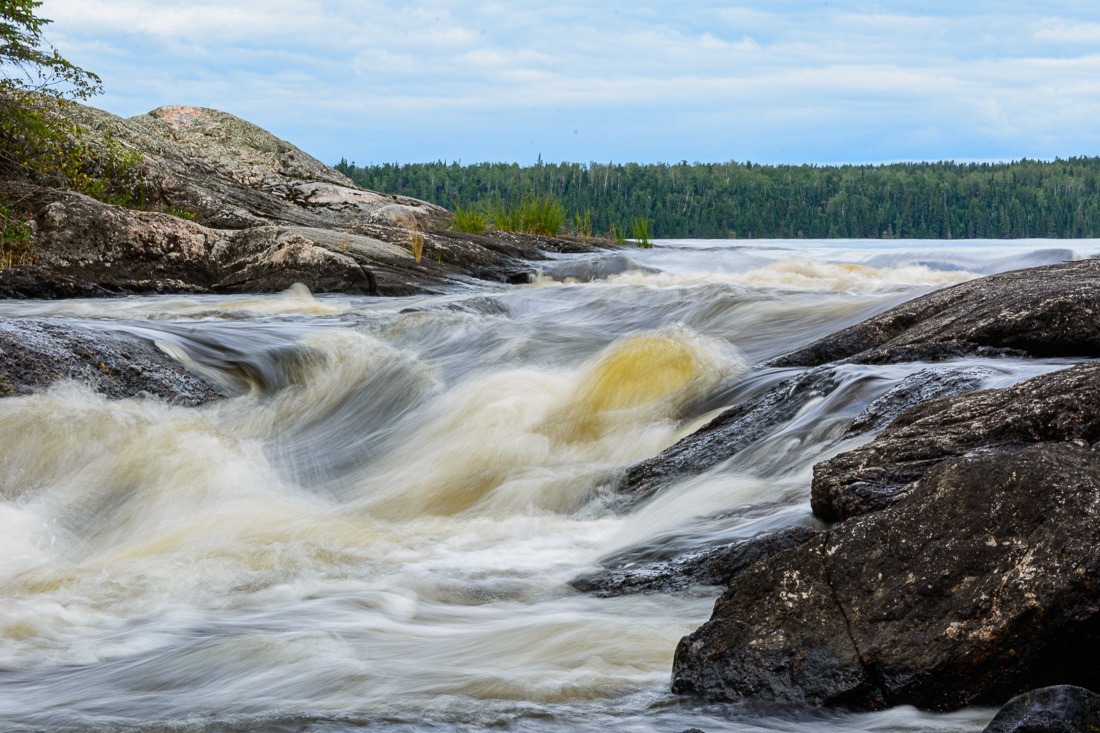
Now I know that next time, I can remove a person or a twig from any subject, without the need for Photoshop.
Bleeding Lightroom! ![]()
