Camera Neutral is my default setting for the camera as well as in Lightroom. Recently, Lightroom has had an update that made big changes to the profile management. So here is an update to the previous article about profiles.
So, a while ago I talked about Camera Profiles and how I *loved* the “Camera Neutral” profile in Lightroom (here). While contrasty weather like Winter and Summer with bright sunshine and deep shadows benefits enormously from the Camera Neutral profile, Fall and Spring may benefit more from the “Camera Landscape” or “Camera Vivid” profiles. Take a look at the following pictures and how they can look radically improved by simply selecting a different camera profile.
When I went out a few days ago to get some fall pictures, I got the following in my camera:
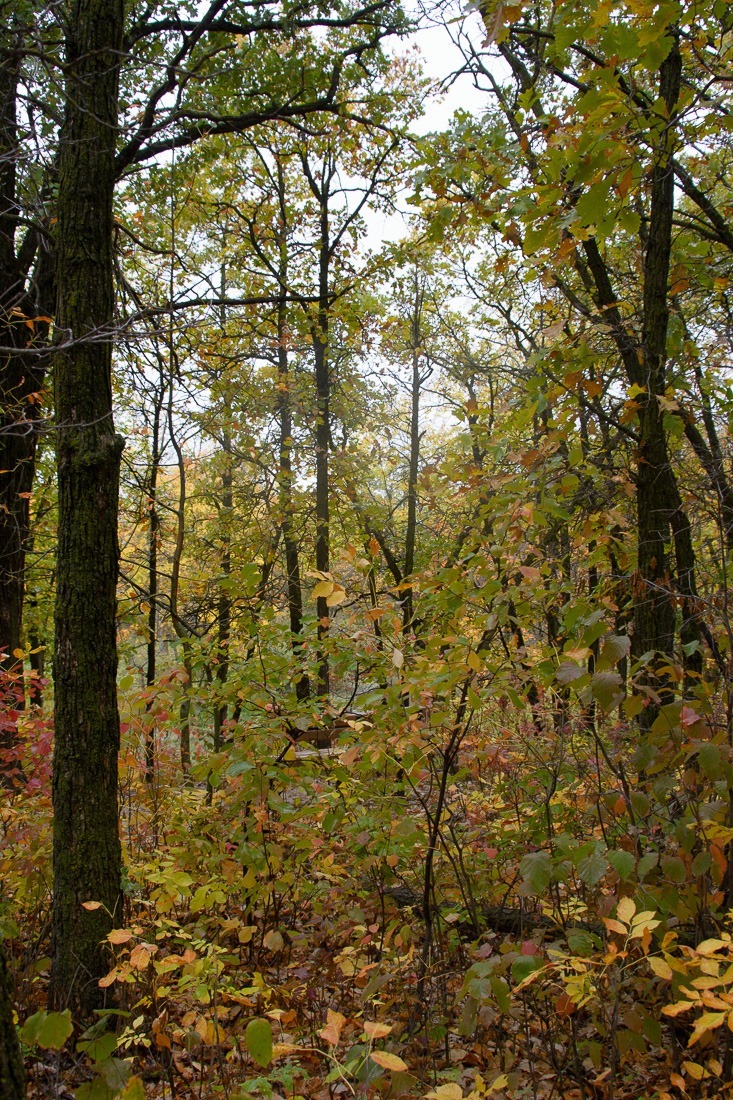
The weather was not too nice, a typical rainy fall, mud clinging to shoes day. When I came home, I was not too enthusiastic about these shots. In Lightroom, the settings for the profile were as follows:

This is my “go-to” profile for most of my shots. The dynamic range is bigger, the details are still at my disposal for treatment, unlike the Adobe Standard profile that immediately robs me of too many details I could still have used. Since Lightroom 7.3 or 7.4, the profiles have undergone a significant upgrade. Now they are dynamic, so hovering your mouse over them previews it on your screen, so you won’t have to select, view and undo any profiles you didn’t like. The four little squares give you access to plenty more profiles.
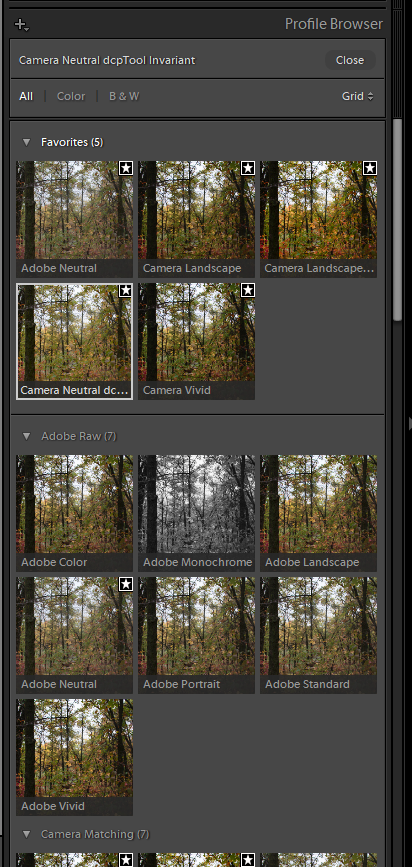
There are enough to not fit in a single screenshot, but you now get the drift… Hovering your mouse over any of them will, like I said before, preview the effect on your picture.
So for my fall pictures with the colours I had, I opted for the Camera Landscape profile.
This gave me the following picture:
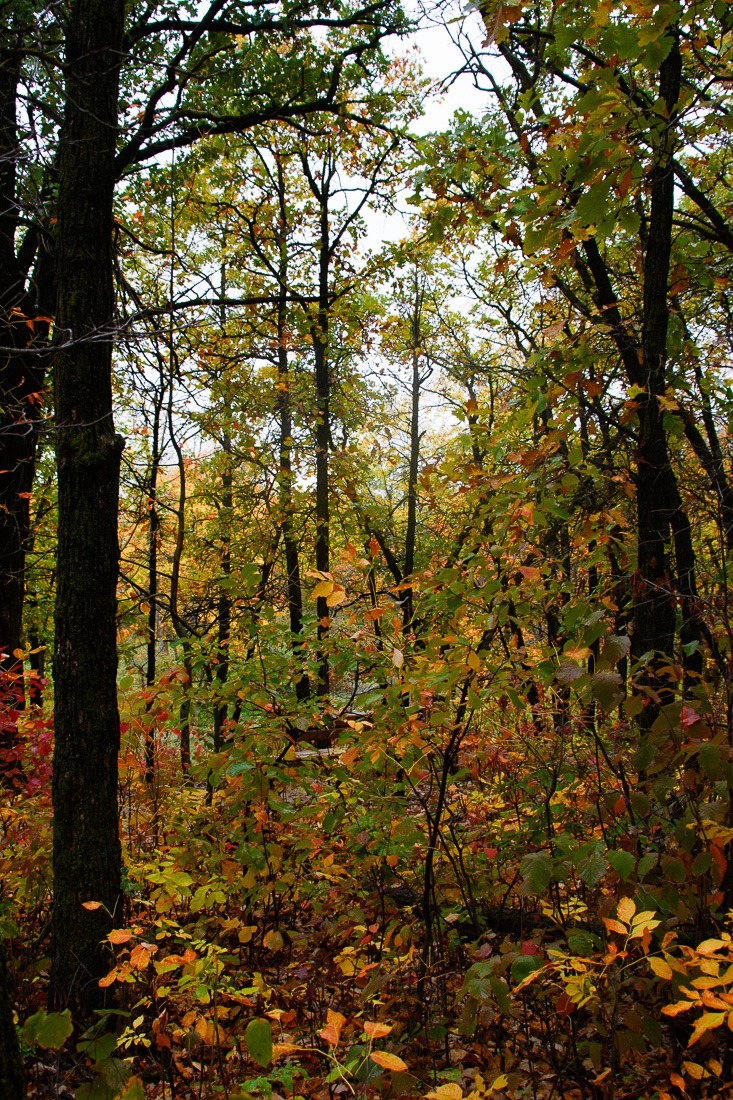
While now the darks are a bit too dark for my taste, the colours “pop” way more than before. This was more like I saw it (in my mind, at least). To correct that, a simple click on the “Auto” button in the Basic panel in Develop and many flaws are now corrected:
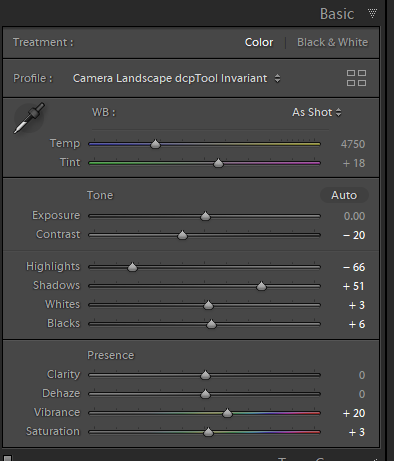
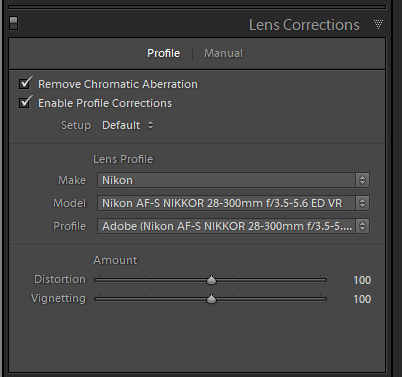
A few more clicks, one double click to reset the Exposure to 0.00, and two Shift+Double click on Blacks and Whites to refine the black point and white point of the picture. Add to it a Lens Profile and Chromatic aberrations setting like this:
The picture is now presentable:
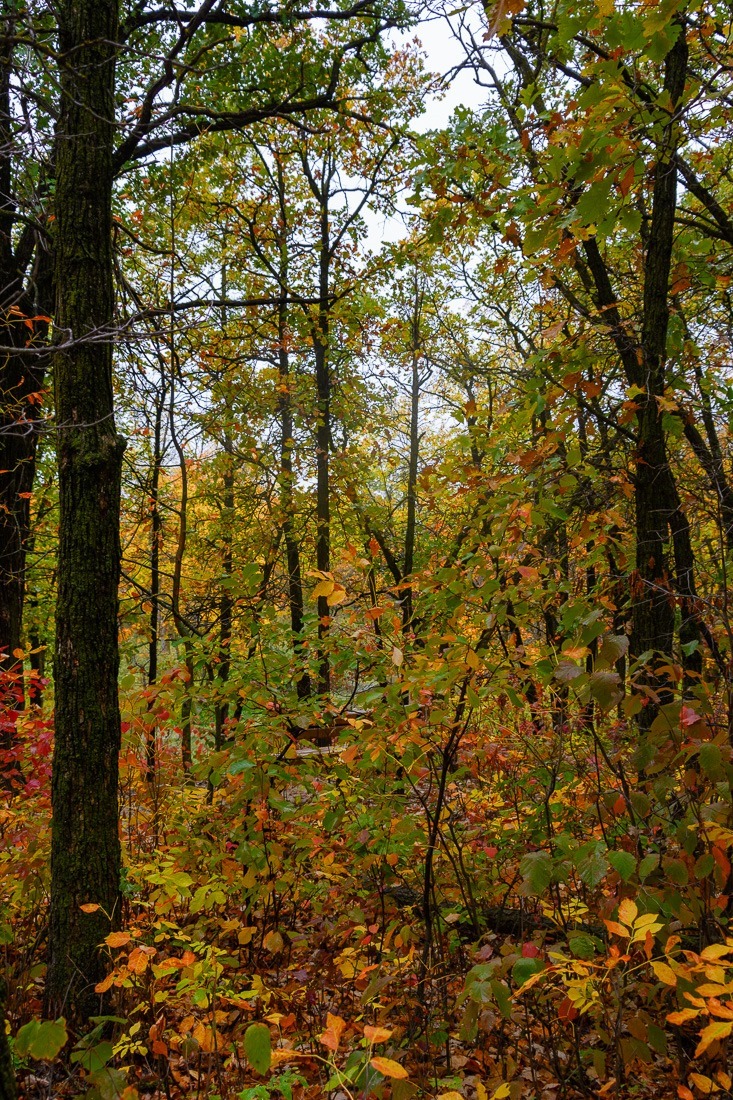
It still doesn’t make it a bright “sunny” picture, but the sun wasn’t shining that day anyway.
So, once again, explore the new Profile Browser in Lightroom on your pictures, don’t stay stuck with one profile fits all, because the conditions for the use of those profiles change all the time. Fall and Spring like vivid colours, Camera Landscape, Camera Vivid are then (perhaps) better choices than Camera Neutral or Camera Flat. As you may have noticed, I use Nikon denominations, I don’t shoot Canon (or anything else except an SKS). If you shoot in RAW, these options are available to you, JPGs can stay home for this round.
