So now I have my usable images still in the “Previous import” collection, a good place to not mix them (yet) with my other pictures. Keeps things simple, you know. By now it’s time for two different operations, one mandatory for my organisation and the other if I didn’t forget to switch on my GPS unit.The first one is the most tedious and boring operation: keywording.
Each picture gets a keyword or more. Depending on what is in the pictures. This operation is a fairly shallow one, I add keywords to multiple images at a time. No way you will catch me retyping keywords for each image. Simply select multiple images and type in the keyword panel.
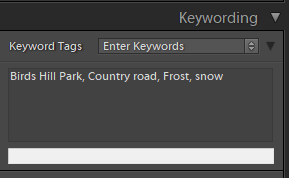
Both text boxes are good to type in, no difference for now. If you have multiple “sets” of pictures with repeating subjects, it may come in handy to use the second part of this panel for that.
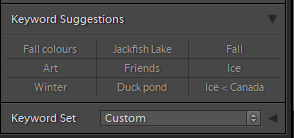
The keywords that show up in here can only be clicked in order to add them to pictures. However, the keywords shown are presented by Lightroom using some “smart” algorithm. Lightroom tries to figure out what is in the picture and tries to present the most relevant keywords here. Often it works, sometimes… not so much![]() .
.
The last part of the keywords panel looks like this:
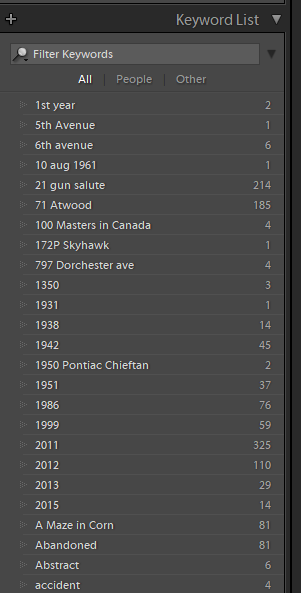
In there you have a list of all keywords in your catalog, whether they have been used or not. For a long time, I was using this list to select the pictures in my catalog with that specific keyword. But if you have been working with keywords for a long time, this list can and will become long and unwieldy. Nowadays I hardly look at it anymore. Now I am using what was originally designed for this: the Filter Bar.

Press the \ (back slash) on your keyboard and that filter bar will appear/disappear. Repeat until you get what you want. The “Text” option is what you will be looking for to enter anything that may be a keyword or even a part of a keyword. The more you enter, the narrower the result. Until you find nothing ![]() .
.
That mostly concludes my keywording session. I never think long about my keywords, they are pretty simple. I hardly use Hierarchical Keywords (sometimes, just to add Latin keywords to bird names), but that’s it. I thought I would be using “People keywords” a lot, but after scanning through my entire catalog it appeared that I was more a nature shooter than a person shooter.
The second operation is geotagging. I have already blogged about this here, here and here, so I will not go into too many tiny details today. Geotagging is the process of joining GPS Date+Time+Location info to the Date+Time info recorded by the camera. The GPS is always on time, as accurate positioning depends on it. However, your camera (usually) has no GPS/Radio built in to get updated time information. Therefore you have to set the date and time manually on your camera. Make sure you set that time to within a second or two to the same time as displayed on your GPS/Phone. If the two differ too much, the tags will be “all over the map” except where you expected them to be.
Using Explorer/Finder, download the GPS file onto your computer using the instructions that came with the unit. I place my geotag files in a folder called “geotagging”. Not very original, I know, but at least I know what’s in that folder ![]() .
.
Select all your imported pictures and head over to the Map module. Press T to make the bottom toolbar appear/disappear. You will need it, so make it appear for now.

With all pictures still selected (don’t click on the map!), click on the squiggly menu button and click Load Tracklog.
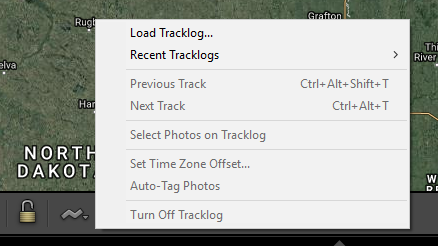
Select the tracklog you just copied to your machine and press enter. For a few seconds, you can see Lightroom opening the file and counting the number of waypoints you have recorded. Then the track appears on your map in blue. This is the complete recorded track of the places your GPS unit has been.
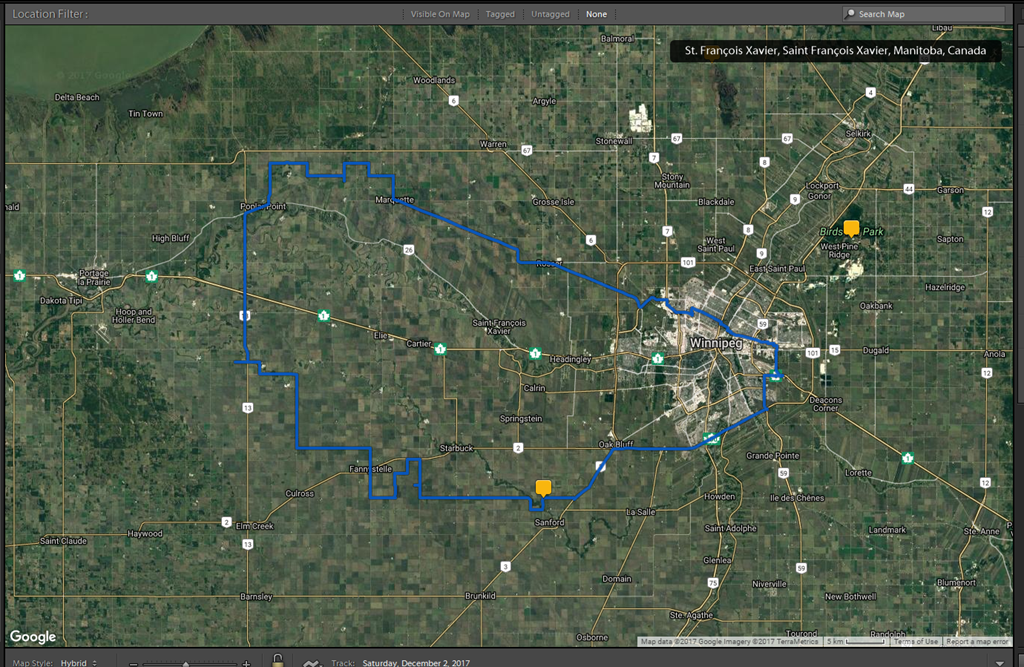
Now it’s time to join the GPS information to the EXIF data in your pictures.
Press the squiggly menu again and select Auto-tag nnn Selected Photos. As you can see, this works on a selection, not on a complete collection or catalog.
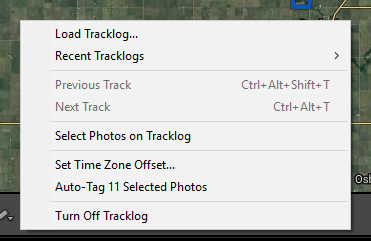
Once this is done, Lightroom presents you with a map with tags representing the place where you took the picture(s) . Should you forget that Daylight Saving Time (that wonderful invention of bending time provided by our governments) you can offset that by using the same menu and select “Set time Zone Offset…” Should you be not happy at all about the markers on the map, simply select them on the map and press delete. That removes the markers, not the pictures from catalog or machine.
The whole operation of geotagging all your day’s pictures should take no more than 50-60 seconds. After that you can never forget where you took those pictures as that info is now inside Lightroom.
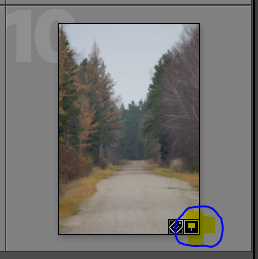
A geotagged picture in the Library module now displays a little tag in the thumbnail:
In the Metadata panel in the Library, the picture now displays the GPS information like this:
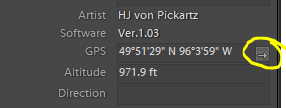
Clicking the arrow beside the GPS coordinates brings you back to the Map module with only this picture selected.
Alt+Click on that arrow opens the map on the web using Google Maps. The url used for this can then be sent by email or published on the internet (FB, IG, etc) without affecting your catalog.
This concludes part 2 of my workflow.
