Hello Darkness, my old friend… Photography and darkness went together for decades. No darkness somewhere? You got no pictures.
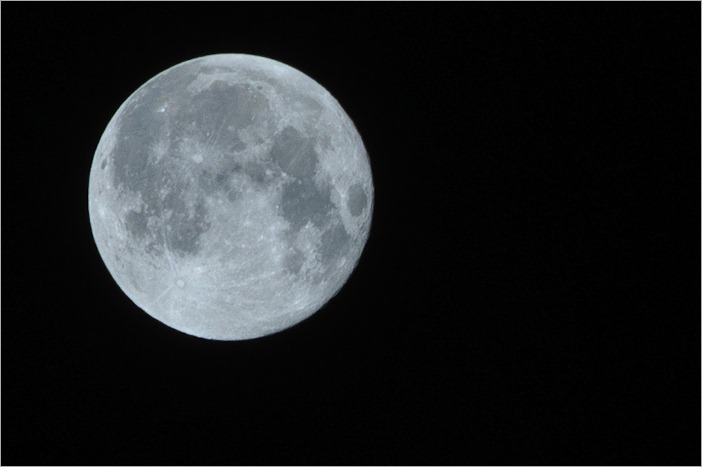 The moon
Today, this is completely different. You don’t need a darkroom anymore to create good pictures. You don’t even need chemicals anymore to have a print. So what about photographing the darkness? Well, there is lots to see, lots more than the obligatory moon picture…
Anyway, a moon picture is better taken when it’s not the full moon, so that features on the moon’s surface will give some shadows and thus more information…
So, now that we’re done with the moon pictures we can go on with the rest. Normally I stay in the city at night but not this time. With a few friends, I went out to the countryside outside of Winnipeg a few days ago. I thought we would have enough darkness to see the Perseids, but their biggest activity had been on the night before. I only saw 3 meteorites in about one hour and a half… Not enough to keep my camera running for all that time.
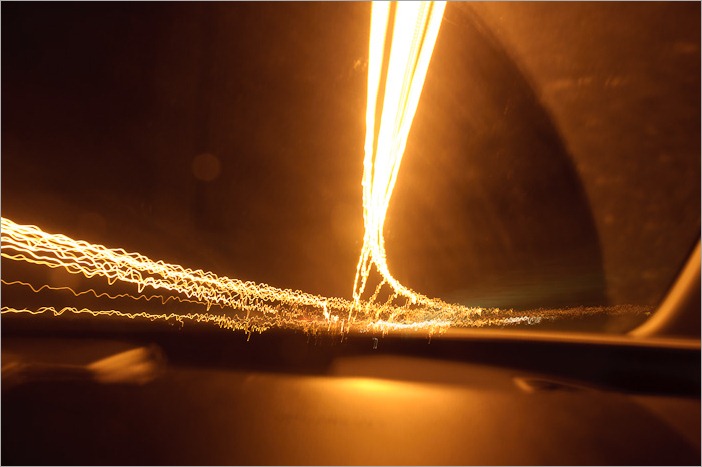 Light painting or just streaks?
On our way to Birds Hill Park I decided to get some streaks from the streetlights. I held the camera as steady as I could while my friend was driving the car. Obviously the picture was as blurred as if I had put a tripod on a boat to steady the camera. The effect is nice though.
Arrived at Birds Hill Park, we were far enough away from any city light pollution. At least that’s what I thought. A few weeks earlier I was at the same spot to shoot the Northern Lights. At the time I had no interference from any city light.
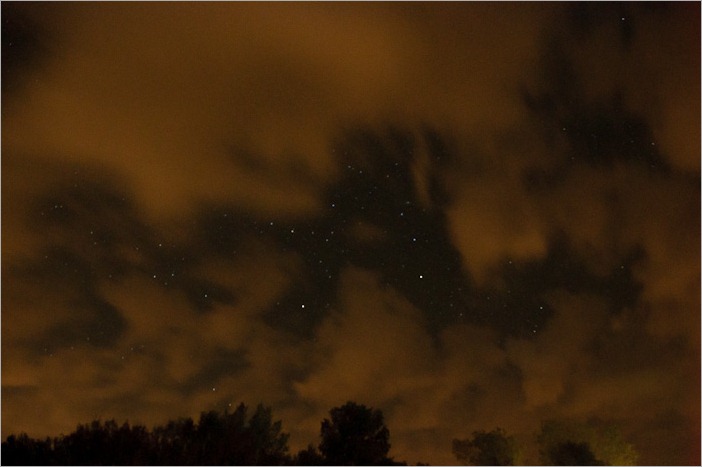 Strange coloured clouds
I should also add that, at that time, there were no clouds and that the black sky was coloured green by the Northern Lights. This time however, no Northern Lights, but orangey clouds.
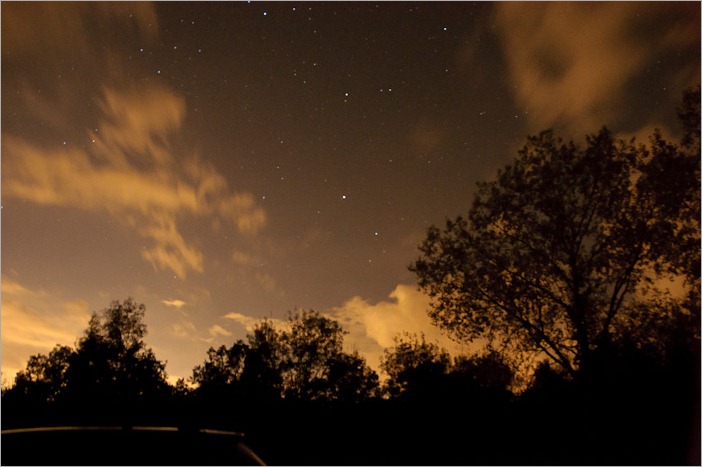 Looking south toward the city
When I decided to look south, toward the city, well, it was clear that the city gave off a lot more light than I had thought. And of course light of that horrible orangey sodium kind.
Time for a White Balance adjustment.
So, the first thing I could do was adjust my white balance on the camera. Eh, yes, except that I am shooting in RAW and therefore none of these adjustments are saved with my pictures. So it was time to do this in Lightroom.
 White Balance adjusted
At least now we have a blue sky back. I still need to find a way to focus in the night. Simply setting the focus ring to infinity doesn’t seem to work. Next time I’ll try to tether the camera to my laptop and see if that makes a difference. Not that I am shooting this often at night though. But an 18-200mm lens is hardly what you call adapted to astronomy photography.
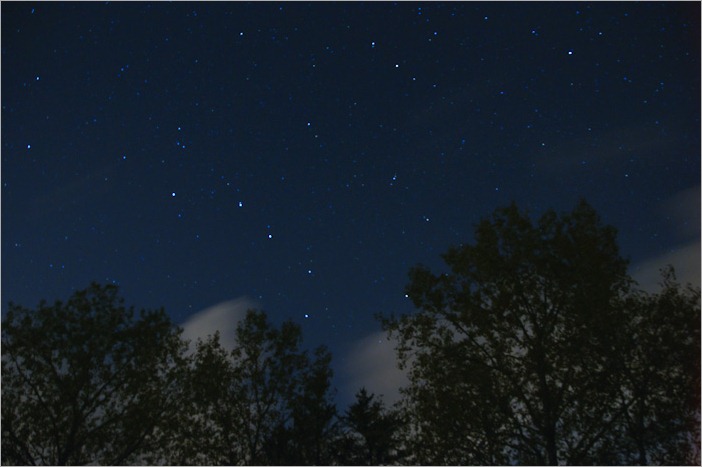 A bit better focus, but still off
If you can still remember “the Big Dipper” from the northern skies, you may find it in this picture. This one is also WB adjusted. Even the trees show up green again. It was, however, very dark and most pictures have a shutter “speed” of 30 or more seconds.
Shutter speeds of over 30 seconds, ISO setting of 3200, well then there is also time to try and play a bit with light. I have often heard of “Light Painting”, apart from that is exactly what “photography” means…
Light Painting is creating pictures with a small light and a long exposure. Something like this:
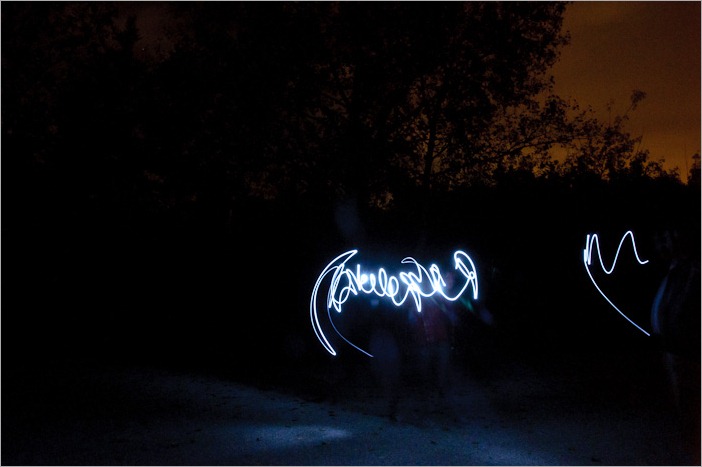 What is that, written there?
Moving the small light (LED light) while the shutter is open creates light trails and can give some interesting results. Of course writing your name in the air is not as easy as it looks.
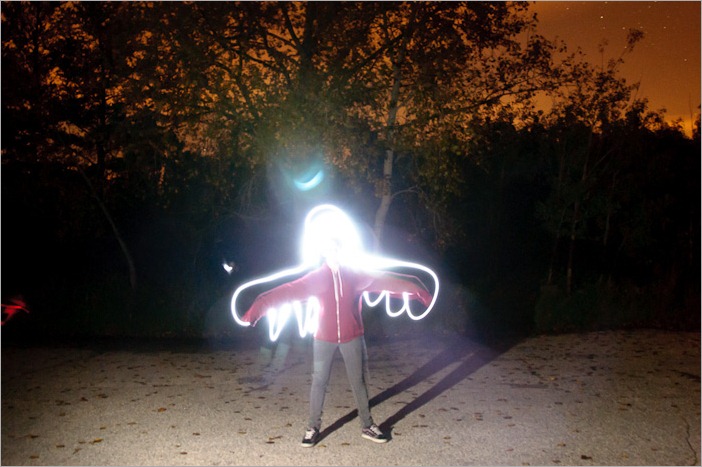 A traced Light Writer
Of course there are other ways of getting interesting results. Take a subject, add some light features to it in the dark and as the last option, flash your speedlight. Now you have a combination of a “normal” picture with Light Paint.
I didn’t catch any shooting stars on my camera, but we did see a few. I even imagined hearing one. Just a soft swish.
I guess that I’ll have to try again with the Orionids in October. And see if I mastered focussing in the dark by then, too.
