Time to hail in the new year. Some will think that I haven’t been posting as much as I “should” have. Perhaps these people are right. But there are attenuating circumstances. I think…
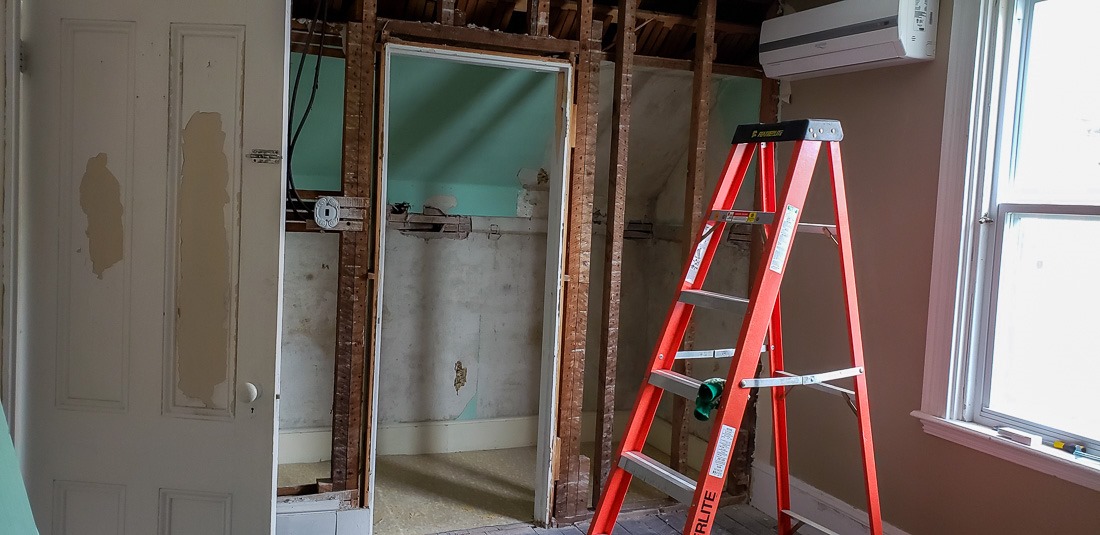
The past year has had its challenges on other levels than just photography.
As you, regular reader, will know, we bought a house in Nova Scotia. Simply because it was time for a change from the prairies. At first, pandemic obliged, we self-isolated 2 weeks in an empty apartment in Halifax. Happily some friends were able to bring us some necessities to bridge that period.
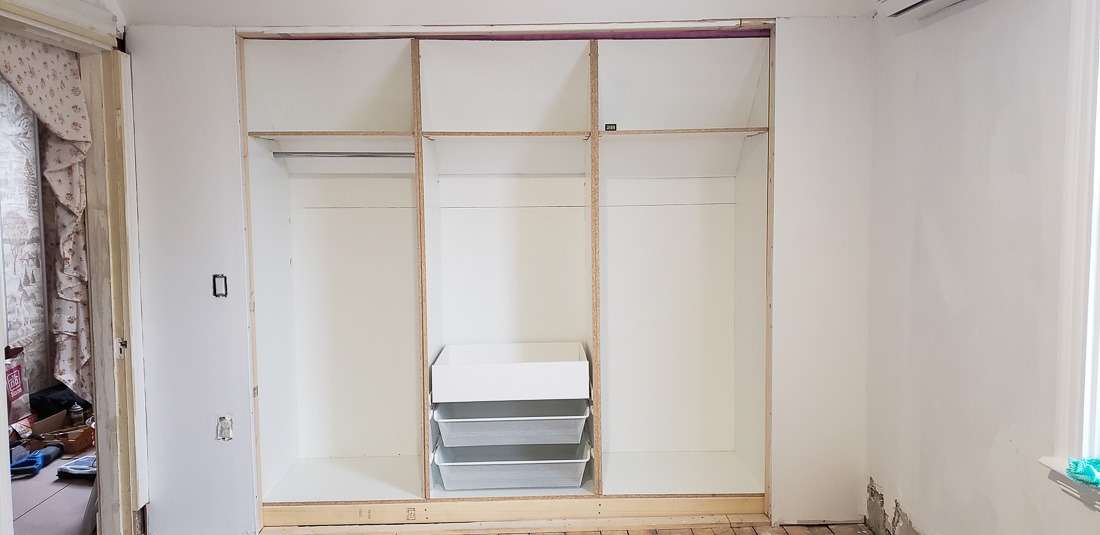
Bedroom closet in progress
Once the isolation period was over, our things arrived. Just in time, I’d say. Then came the hunt for a house and we found one. A 120 year old house, sturdy, but in need of some upgrades. The lead picture of this post is the master bedroom walk-in closet. Needless to say that that had to go. It was replaced by a set of closets that are not yet finished in the picture above.
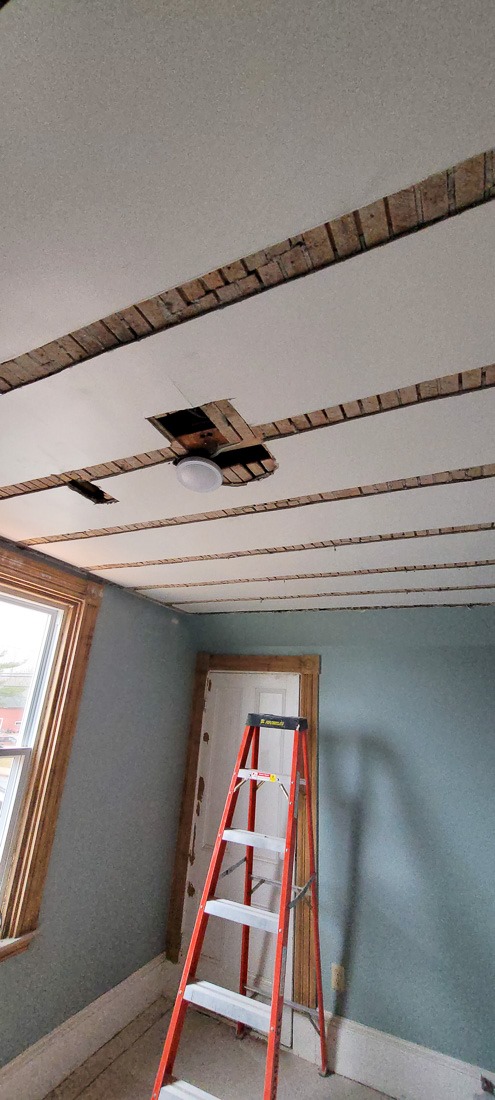
Ceiling in progress
Nothing in this house seems to be straight or square, so everything needs to be adapted. Above is my office-to-be. Infamous “lathe-and-plaster” everywhere. One of the big challenges in these old houses. Either you leave the cracked plaster or you get rid of it.
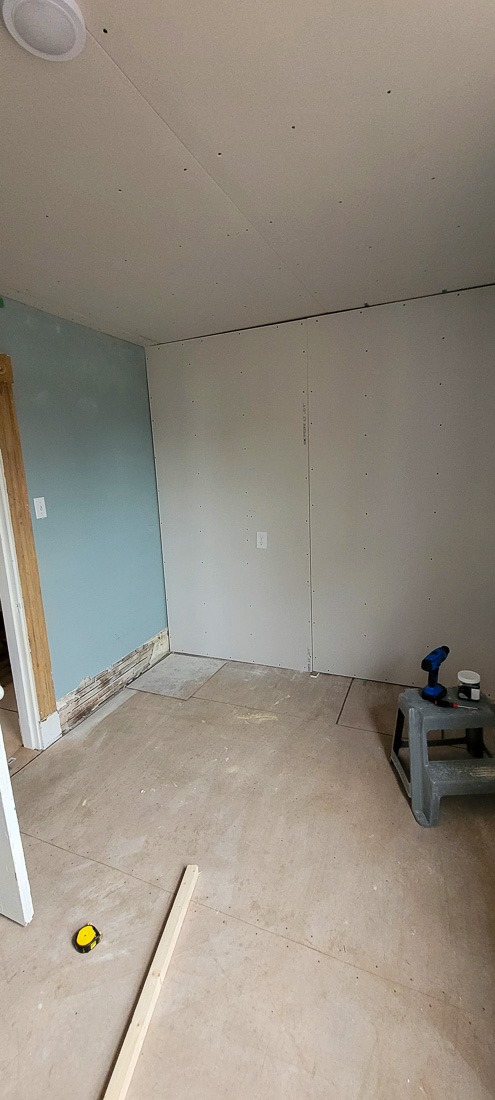
Last bit of plaster
We opted for an intermediate solution. Simply remove the unwanted plaster and fill with 1x4x8s so that drywall can be fitted on that very easily. By now the office is finished and in working order, as is the master bedroom. The section of plaster also came down after a little nudging of my sledge hammer.
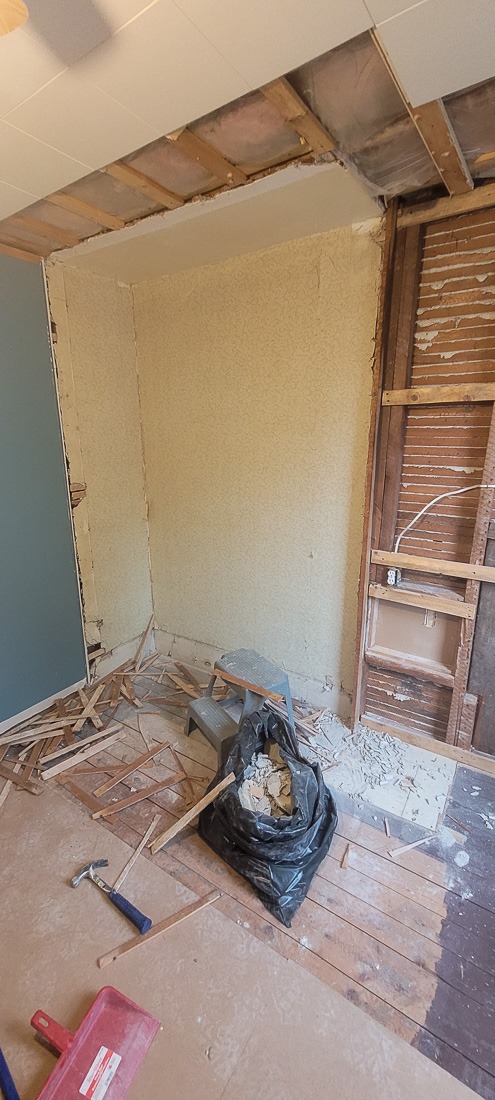
No more closet
The guest room had a built-in closet, made of, you guessed it, lathe and plaster. Above is the remains of that closet in the course of removal. I usually forget to take pictures of the before and after situations so some steps of the process have been omitted.
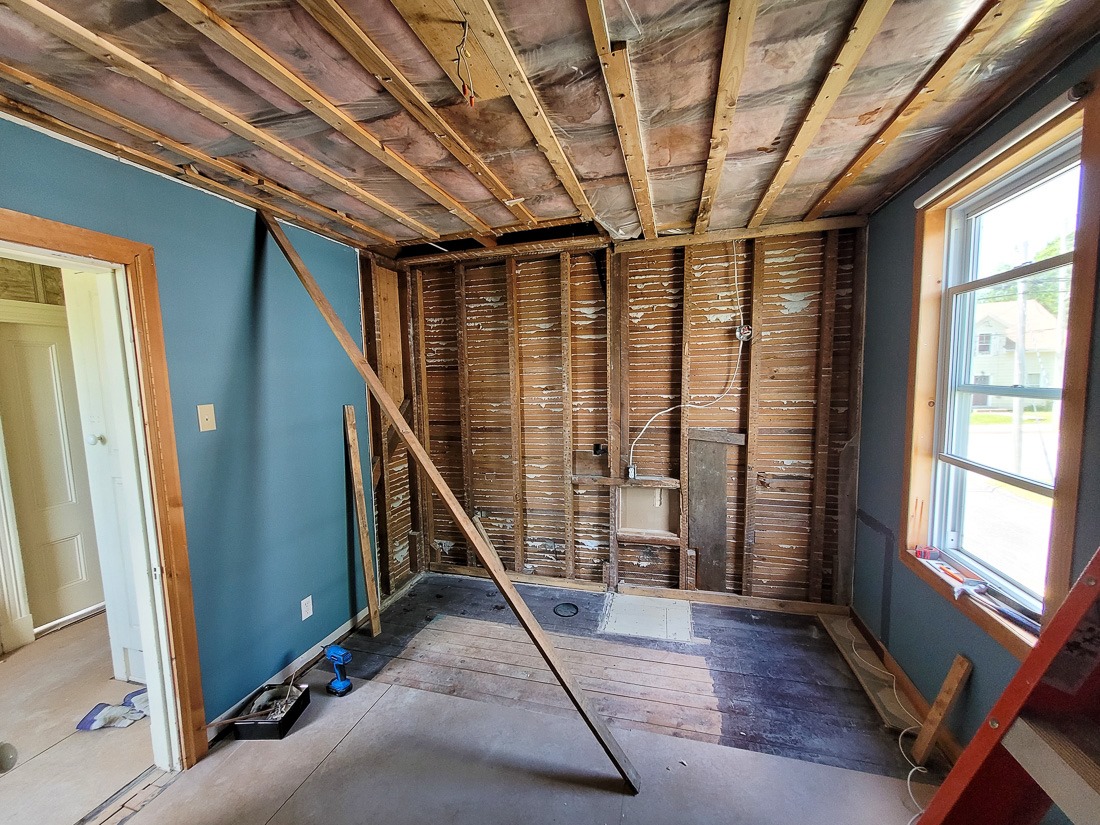
The same room after the wall has been stripped
The ceiling had insulation (oh surprise), and no lathe and plaster. The room has now been finished, painted and furnished and was already used as a guest room past summer. All this was the upper level of the house, the lower level had seen no work up until then.
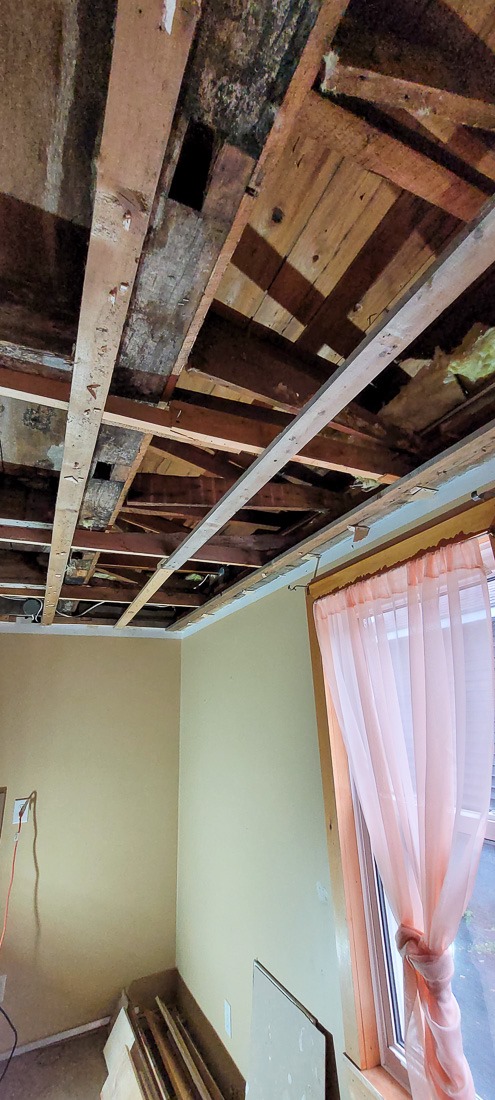
What’s above the ceiling?
So it was time to tackle the room that had not been in use until then. Closed off with some sheets and used as a workshop. Cutting wood in the (all too frequent) rain is not an option. First, as seen above, the removal of the ceiling tiles. This time no lathe and plaster, but softboard tiles. A fire hazard by just looking at them.
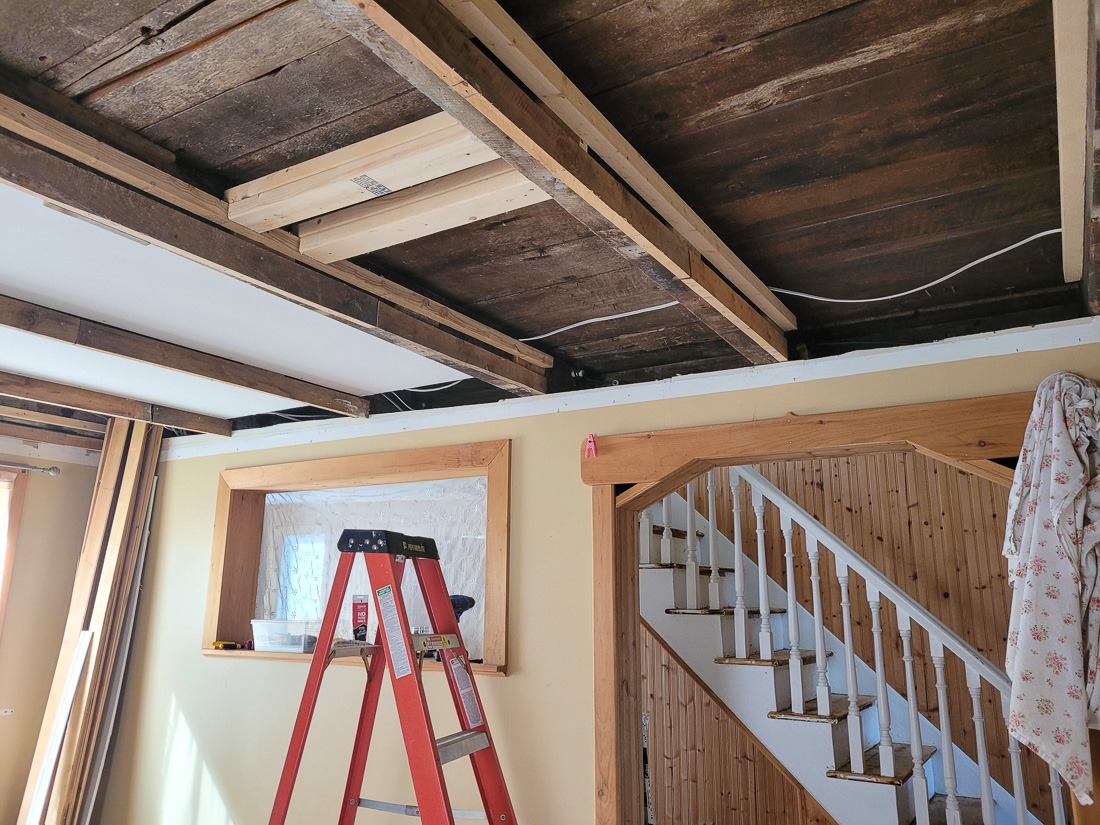
Ceiling in progress
Then came the beams. As expected, they were not straight, not level as well as ugly. Not suited to be spruced up and shown as “rustic”. Yet the ceiling was too low to simply slap some drywall on it and call it a day. We opted to put the real ceiling between the beams and cover those with wood instead.
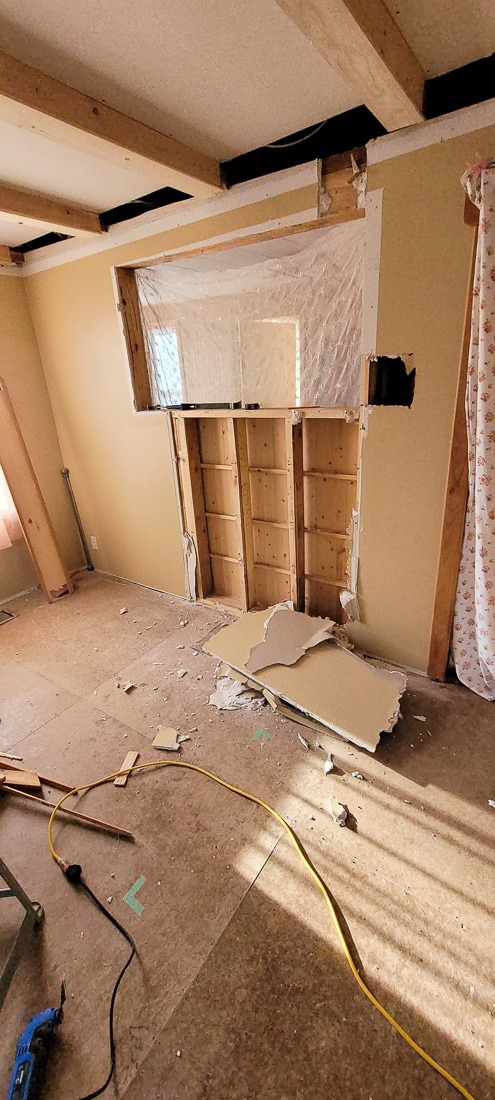
Pass-through window? Has to go!
As that wood was fairly straight, the beams now look presentable. With the help of a neighbour, we managed to plane the standard 1x6x8 down to something presentable, a bit of routering the edges off and then over the beams. The ceiling, while far from finished, is now presentable and the room no longer feels like an above-ground dungeon.
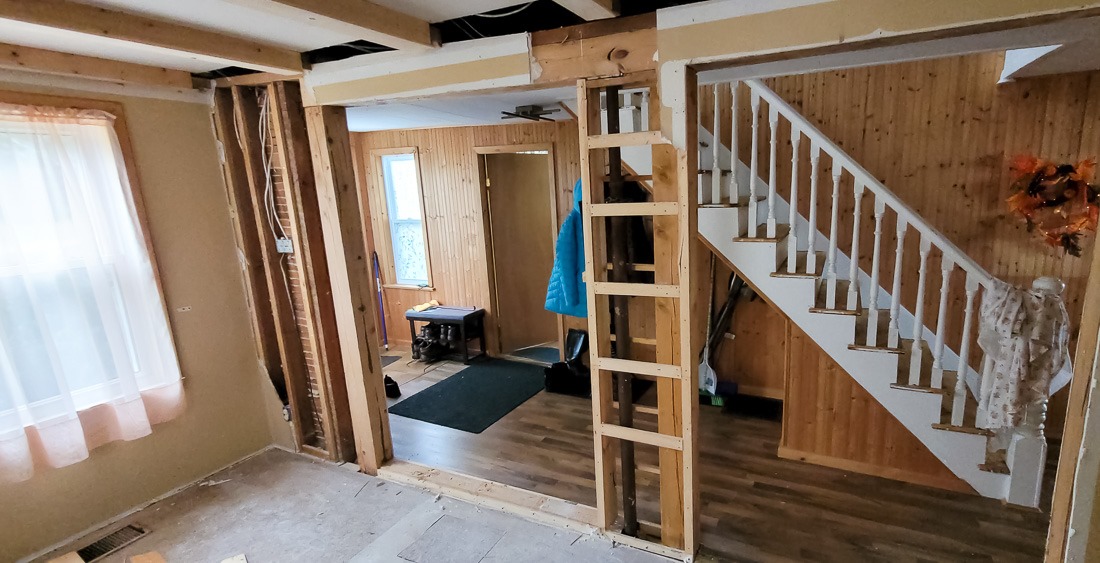
An open concept, for now
Then came the opening up of the room. The entrance was a mishmash of planks made to show some sort of “arch”. That had to go as well. The opening became suddenly a lot wider. Yet too narrow for the French doors we had bought for that. As it turned out, the beams on both sides of that opening are holding up the house, so no touching them, eh?

One set of French doors
So far, we have managed to put in one set of doors. The other set will be next. After that, well, new walls in the new living room, paint, finishing up the ceiling etc. None of that in order, of course.
Pictures in this post are cellphone shots, no prowesses here, no nature or artsy attempts. Sometimes I do go out to just take pictures, but lately, the house takes the front position.
Now you know ![]() .
.
Until next time…
