Have you ever wondered where you had taken that picture, with that specific view on it? And have you never found that place again? Well, it happens often like that. Sometimes photo collections resemble those old shoeboxes full of 4x6 pictures. None of them with any mark on it as to where or when they were taken.
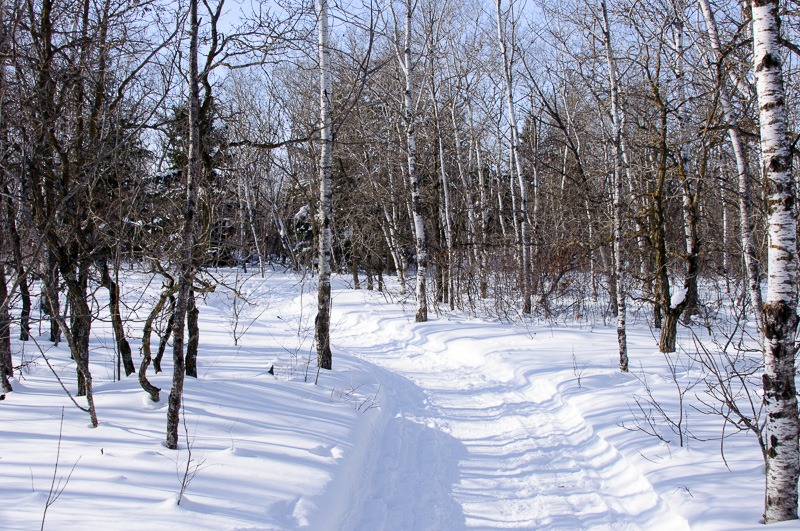
Nice pictures, in general, but useless for an archival system. Maybe we don’t archive all our images, but the ones we keep are for memories. And memories need some pinpointing as to where the memory was taken in the first place.
Here comes in the term “geotagging”. It tags your images with the help of a GPS device. How does it work? well, fairly simply. If you make sure that your camera has the same time clock as your gps, then you’re ready to go. Start the GPS, take a picture and in Lightroom you can do the rest. In fact, Lightroom will do the rest. The gps creates a file with date+time+geo position taken from gps satellites.
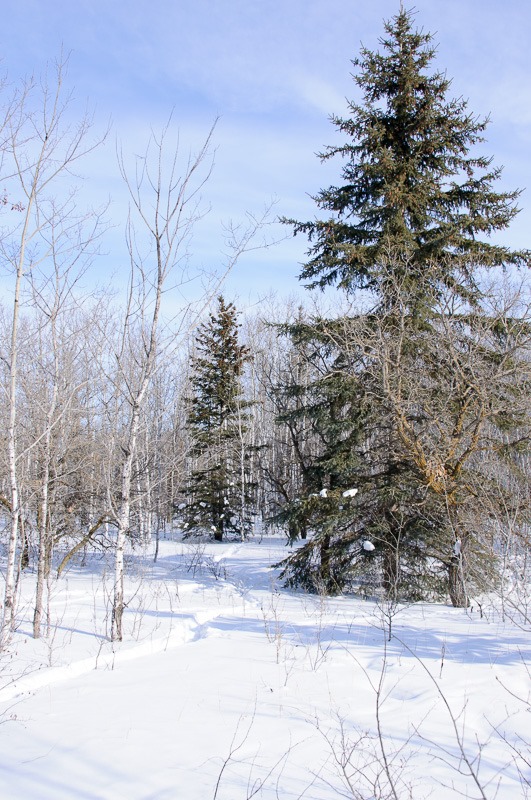 Cedars guarding the bog
Your camera takes pictures with date and time. Lightroom combines the two so that date+time in both correspond and adds the geo position to the picture. Now you will know forever where and when the picture was taken.
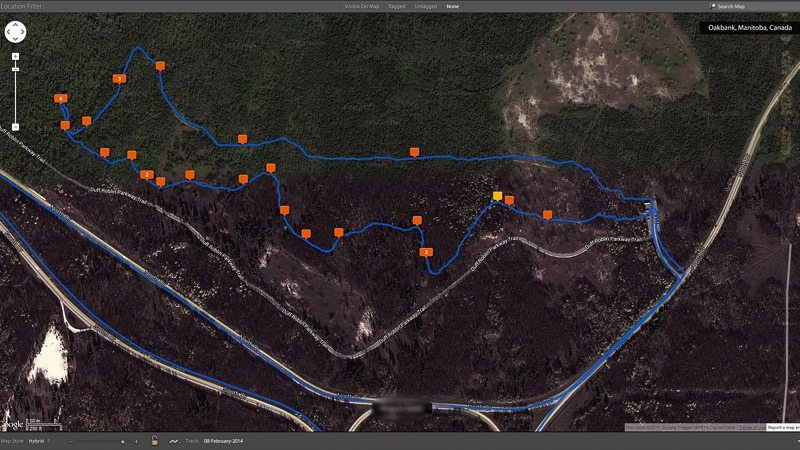 My tracks on Google Maps inside Lightroom
Additionally, Lightroom can show you the exact trail you have taken on a map provided by Google. I don’t need to introduce Google Maps, all your geotagged pictures will show up on the map. Above is the Cedar Bog trail I took in Birds Hill Park. While all the pictures are in the snow, the map will show the best day in the year for taking pictures with a satellite ![]() .
.
 An unexpected Christmas tree
On the map, each orange or yellow tag represents one or more pictures. Now you know the trail I have taken to take all of these pictures.
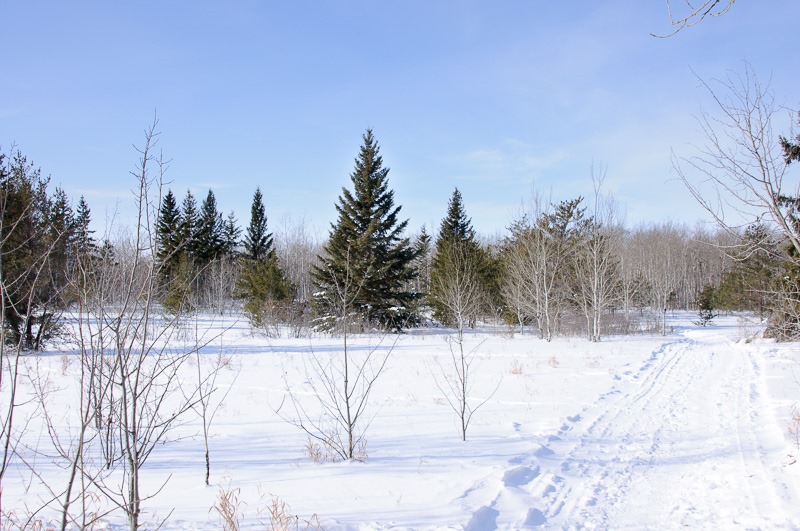 Endless trail
I already hear you thinking: “How much is a GPS?”. Well that depends. You can use your smartphone for this, on both iPhone and Android, Google Maps is available and both apps will allow you to record your whereabouts. Just be aware that using the GPS on your device eats through your battery as if there were no tomorrow. A walk of about 2 hours is enough to kill your phone’s battery.
 Tracks of someone who did not need a GPS
 ![]()
Another solution is to use a dedicated GPS device. A Garmin Etrex is a good one, it allows for two AA batteries to stay alive for about 24 hours. You don’t need to buy maps if you don’t feel like it, coordinates are stored on the device and later displayed using Google Maps anyway. You really don’t need to buy a map for Cuba for your holidays, back home all will be fine ![]() .
.
 A flash of colour
Both smartphone and GPS will deliver a file in the form of a .gpx file. That is the file you will import into Lightroom to combine coordinates and date+time stamps of your pictures.
 Bird heaven, food and lodging provided
What to do once you have geotagged your images? Services like Flickr will automatically recognize the geotag in your images and will display a map showing where the picture was taken. From within Lightroom, a click on the tag in the Library module will lead you to Google Maps or Bing Maps, placing the picture at the exact spot it was taken.
 Snow sculpture by Mother Nature. Do you see the sitting bear?
As an add-on to my browser (I prefer Google Chrome) you can use Exif Viewer. This handy little tool will display all Exif information of a picture that you see on any web page. When GPS coordinates are available, the red GPS tag will overlay the image with a Google Map with its exact position.
 No human tracks here
In other words, no longer do you need to guess or strain your memory to remember where that beauty of a picture was taken. Lightroom, Google and the Internet can tell you all about it.
All of the pictures you see in this post have been GeoTagged, give it a try to see where the different pictures were taken.
Until next time… Stay on track!
