Snow is white, we all know that. We have been told since our childhood that snow is white. Therefore it cannot have a different shade of white or, heaven forbid, color. Right?
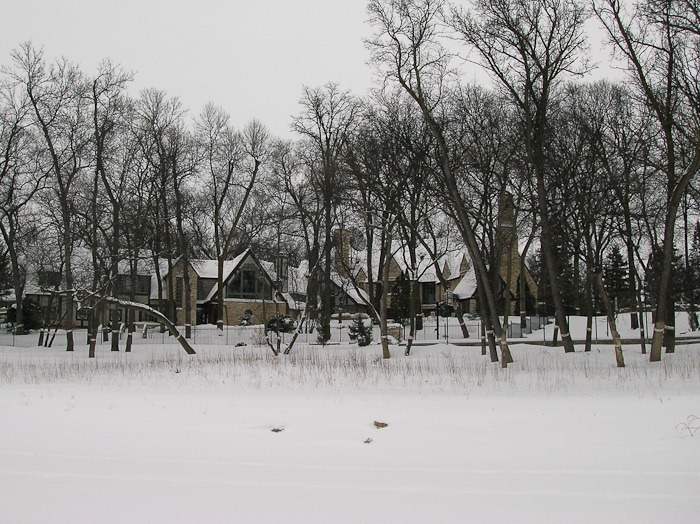
Let’s take a look at the following scenarios and see how white our snow is. Read more and see what I mean…
Snow is white, snow is white… It sounds like a mantra and you just have to believe it, you got no choice. Now why would you believe this? Look at some pictures here. Agreed, these are not the most interesting pictures, but they are colourful and full of snow.
 The Red River and “white” snow
In the old days with film, you had to bring your films to the lab and wait until you got the results. I know that many people have often been disappointed about the wonderful snow pictures they took during their winter holiday in the mountains. I’m one of them.
Often enough these pictures came out with snow having a murky brown colour, dark grey, or bright blue. Never a decent white. These pictures mostly ended up in the shoebox archive and not in the family album of nice memories.
To have an idea of what happened, read on…
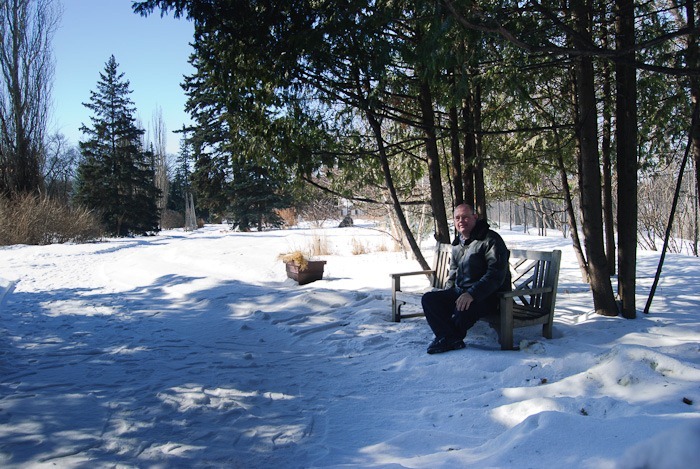 Underexposed subject, overexposed snow, a no win situation
A camera is set to have a “white point” or neutral colour point of 18% of grey. That’s about the colour of the text on this blog, far from being white.
In the old days, only the labs could tinker enough with your pictures to get the white back. But you had to ask, their machine was also set to respect this white point of 18% grey. That would under or over expose your pictures in many cases, altering the colour of the snow.
With DSLRs the problem is similar, although less costly to find out and correct. The first problem you have to solve is: What am I photographing? Most of the time you have a small subject and lots of snow. The snow being bright will try to underexpose your subject, leaving the snow bright and your subject as if a personal shadow was hanging over it.
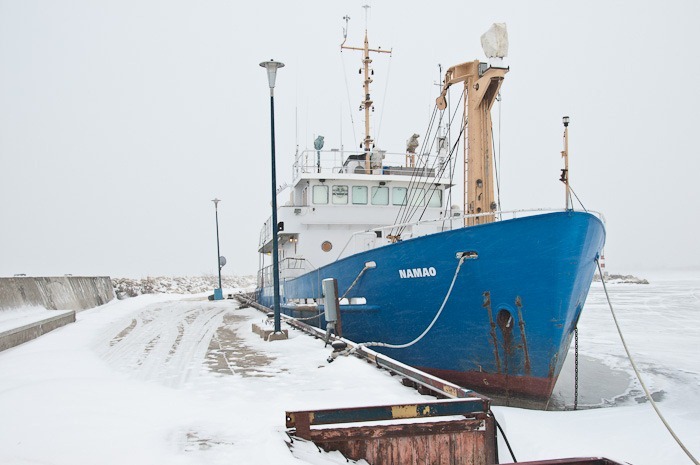 More subject, better snow
The remedy to this is to put the subject in an environment with more colour like the ship in the above picture. The ship has enough “strength” or place in the picture to let the camera know that there is more than snow to be seen. Result: good picture, white snow.
Now take a look at this picture.
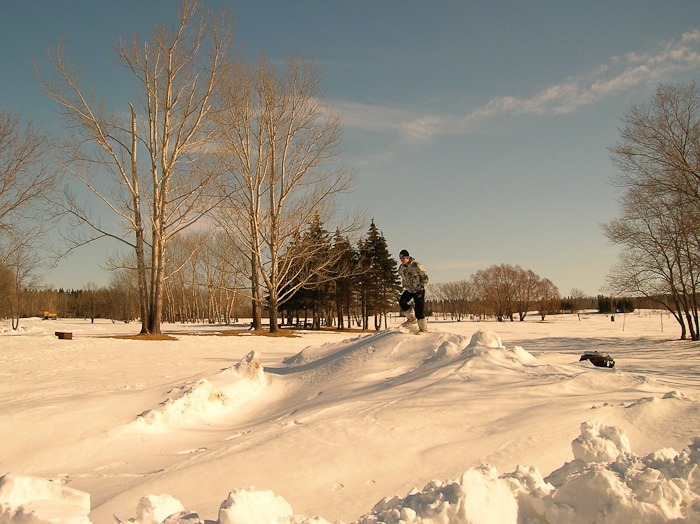 White snow? Where?
Picture taken in the winter (obviously) but around 4PM. Also known as the “Golden Hours”. These hours are generally presented as being the best for taking pictures with warm colours and lots of character. Yeah, right.
The snow has become this murky brown and you ask yourself why the nice white snow isn’t white. The snow is still bright enough to also put the same colour cast to the sky, blowing out the nice blue sky I remember when I took the picture.
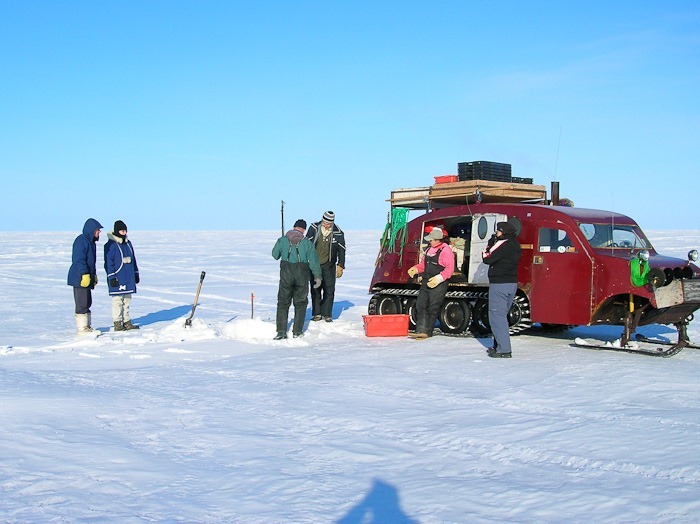 Ice fishing on Lake Manitoba
A little closer to noon (around 10AM) the sky is blue, but the snow is anything but white. To make things worse, I put my own shadow in the picture (photographically also not a smart move) but the shadow on the same snow is blue.
To get this picture back to normal, I would have to de-saturate the blue and orange tints. Leaving me with an unnatural looking picture. Better then to take it in B&W !
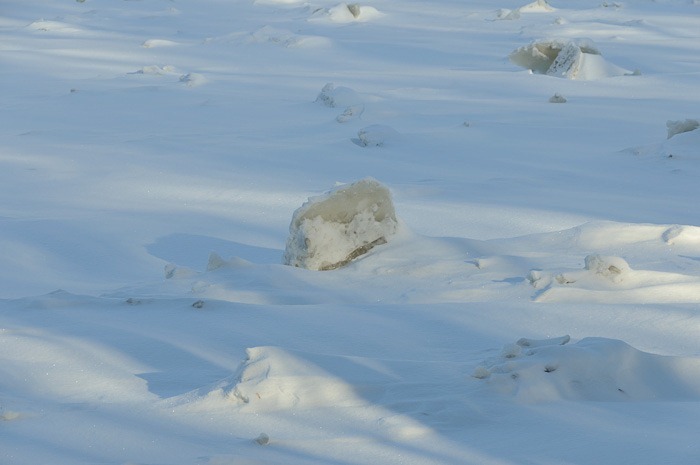 A chunk of ice
A chunk of ice on snow. All is supposed to be nice and white. But this was taken in the shadow, with a bright blue sky overhead. The result is the snow getting a blue colour cast.
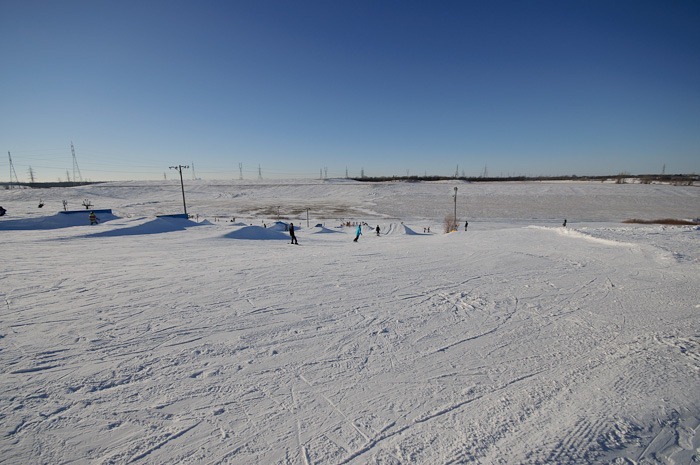 Spring Hill, Winnipeg
Untreated, the lab (or your camera) will show you darker snow and a darker sky than you remember. (No, really, was the snow that grey?) The more snow, the darker the picture, now there’s a contradiction!
Now I hear you asking: “Is there a way to avoid all this?” Yes and no. For exposure problems I would suggest to over expose your pictures (all digital cameras have this ability nowadays) by 2/3 to 1 stop. Basically you are doubling your exposure time. That will clear up the snow and the shadowy subjects. Overexpose too much and your snow will lose its texture, leaving you with big white fields in your picture.
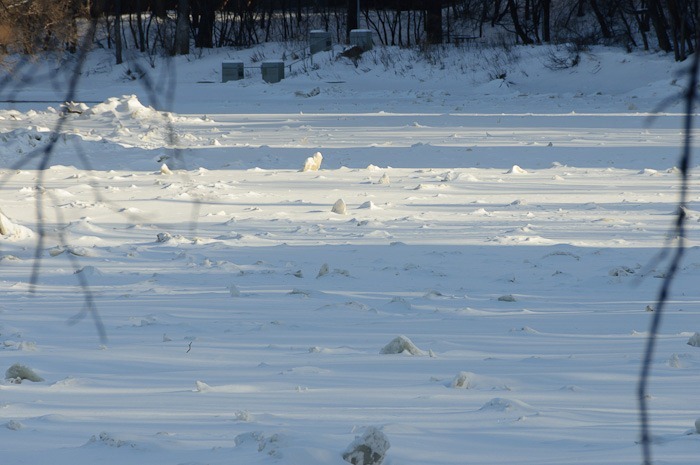 All texture, no blown out snow
Another way is to switch your camera from Matrix Metering (taking the whole picture into account to define the best exposure) to spot or center weighted metering. That will take the correct exposure for your subject, more or less ignoring the overpowering brightness around it. Of course you may end up with blown out snow or sky.
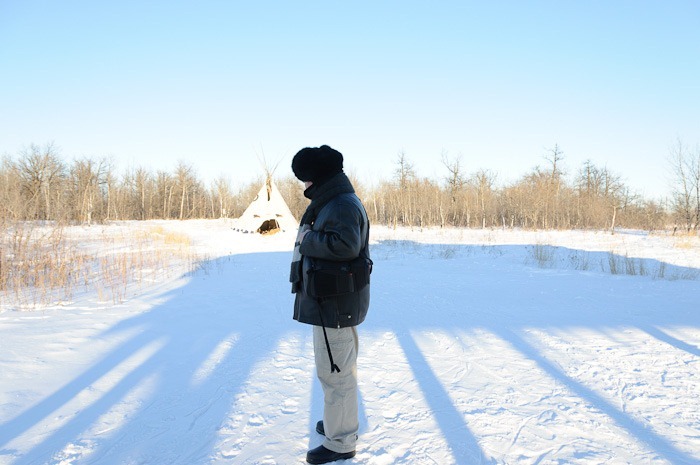 Correct exposure, except for the snow…
As for the colour, well often enough I adjust the colour balance a little, or de-saturate the overpowering colour a bit. That is easily done in Lightroom or Photoshop.
Many people will click the “Auto” levels button in Lightroom. Often enough that may be a good start to adjust your pictures, but for snow and sky pictures that’s a bad move. The snow becomes nearly white, losing texture, and the sky a bright (unnatural) blue. Better to do this by hand. The following picture had far too much blue in it. Shot in JPEG it didn’t leave me much choice but to de-saturate the blue.
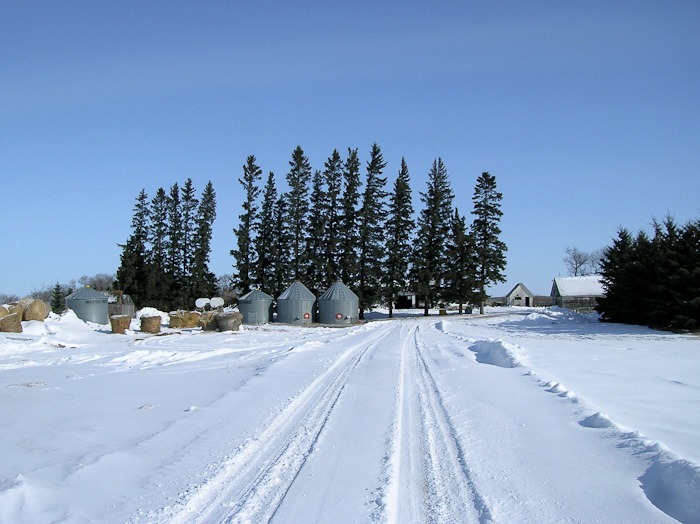 Originally a picture with far too much blue
Better still, try to get the best picture in camera. Post processing away your errors will always leave you with less good pictures than when you did the job well right from the start. And if your still plan on doing the post processing, shoot in RAW, you will have lots more room to make your corrections.
So, yes, you can take good snow pictures, and no you cannot take all pictures correctly right from the start. You’ll have to experiment. A good balance between photography and post processing will give the best results in this case.
The bottom line? Let snow have its natural color, take out the excesses of exposure and colour cast and your pictures will look natural, even with a bit of colour on your white snow. Not all snow is white.
