Easter eggs. While I have often decorated Easter eggs when I was young, never would I have used tools and beeswax to achieve my goal. At most, the eggs were decorated with a few colours, overlapping colour making for new ones.

The Ukrainian art of decorating the eggs is way more elaborate.
I have shown the rests of these Easter eggs here, but these works of art are still something different. So where to start? Fresh eggs of course! Well, they may be old but not broken. Next, you will need to know what you want to do. The Ukrainian eggs have motives that all have a meaning. So no eggs with smiley faces or boats or Christmas trees.
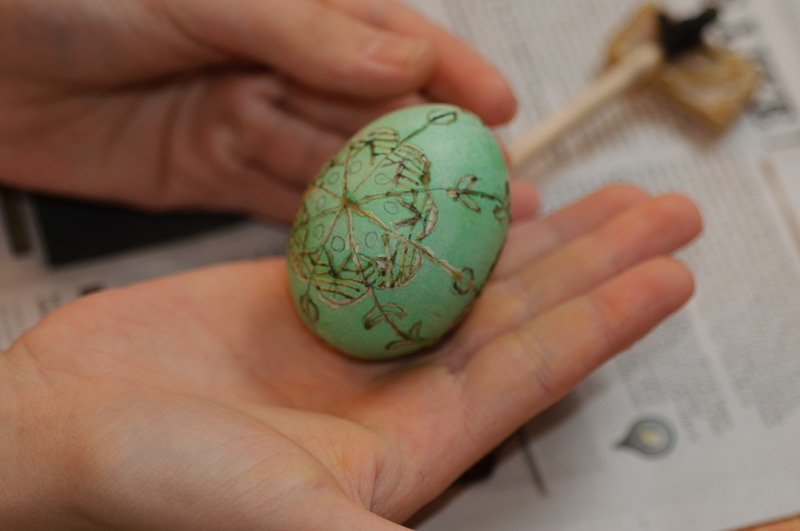 Partly finished
Then you will need a little bit of material. Most of all, you will need some wax, preferably refined beeswax and a hollow stylus. A candle, a cloth and then of course dyes. The principle of colouring these eggs is not unlike Batik, an ancient Indonesian way of colouring textile. You can get of the materials in any Ukrainian Gift Shop, like Kalyna on Main Street in Winnipeg. They sell it as a package, the only things you will need to add are eggs, water and a candle.
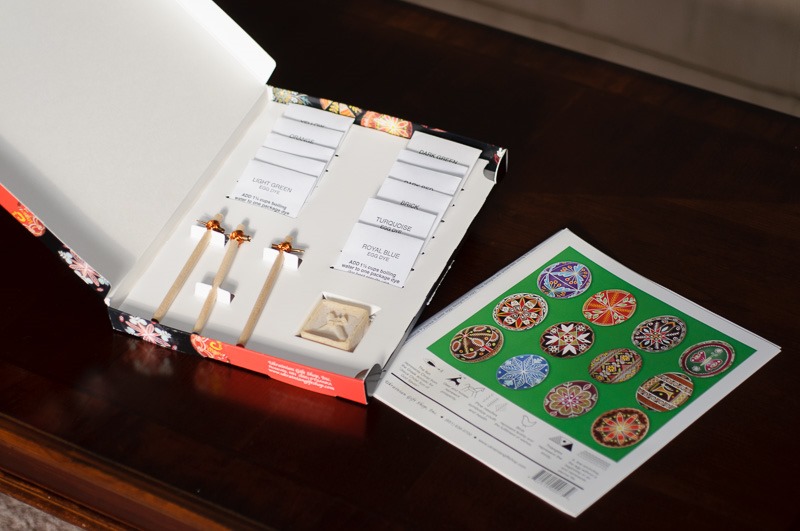 A complete kit for Pysanky
The eggs are called Pysanky, or Pysanka if you make only one egg.
 Starting the design
You start with designing the motive on the egg using a soft pencil. Don’t forget that you are dealing with an egg, don’t squeeze it or toss it around. Pysanky are made with raw eggs, boiled ones don’t seem to work as well for dying.
 Wax stylus
Once you have your design put on the egg, you can light up your candle. Then hold the stylus close to the flame to heat it up. Once warm, you can scrape some wax off the small block of beeswax. The warm metal of the stylus will melt the wax and the smaller end will now transfer the wax on the egg.
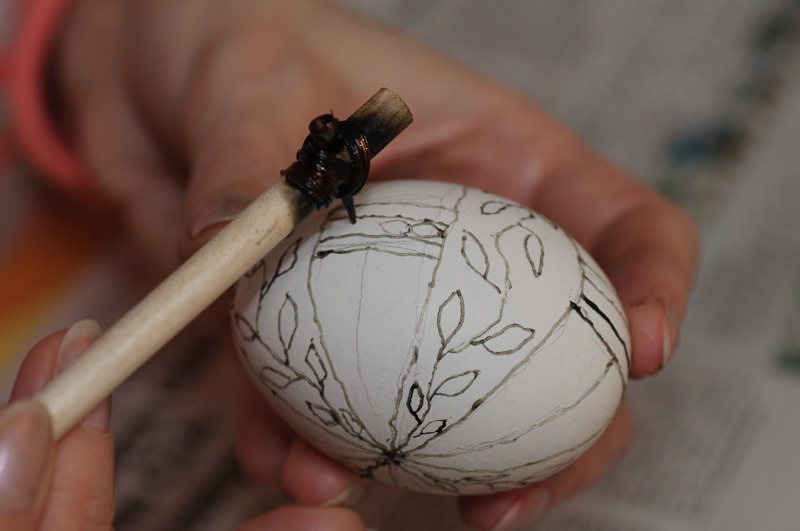 Partly covering the egg in wax
Cover the parts that you do not want to see coloured yet with hot wax and let it cool. Make sure you don’t leave any “holes” in the wax or you will have some surprises.
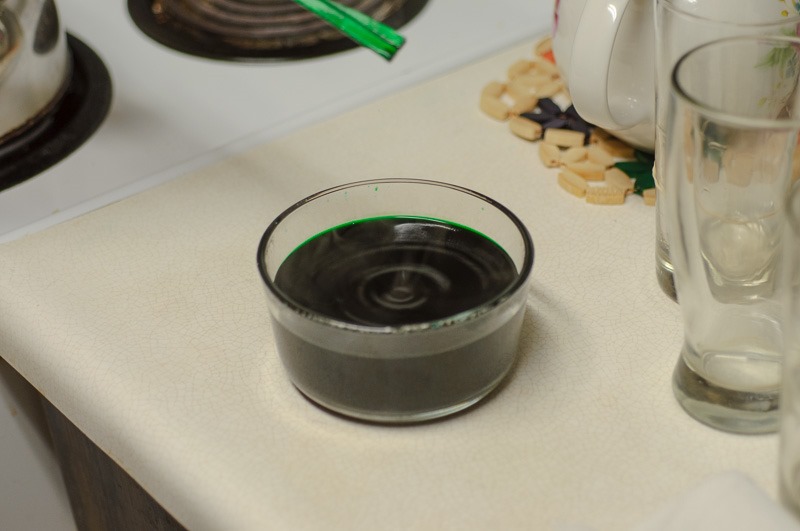 Green dye, I couldn’t resist a droplet picture
Now you will need to prepare the dye for the eggs, one colour at a time. You can use an old whiskey glass or a plastic container from sour cream, whatever holds the liquid without spilling it anywhere. Mix warm water and the powdered dye to make an even solution.
 A bath in dye
Now comes the first bath of the egg in the lightest colour of dyes you have. Put the egg in the dye using a table spoon so that it won’t break on the bottom of the recipient.
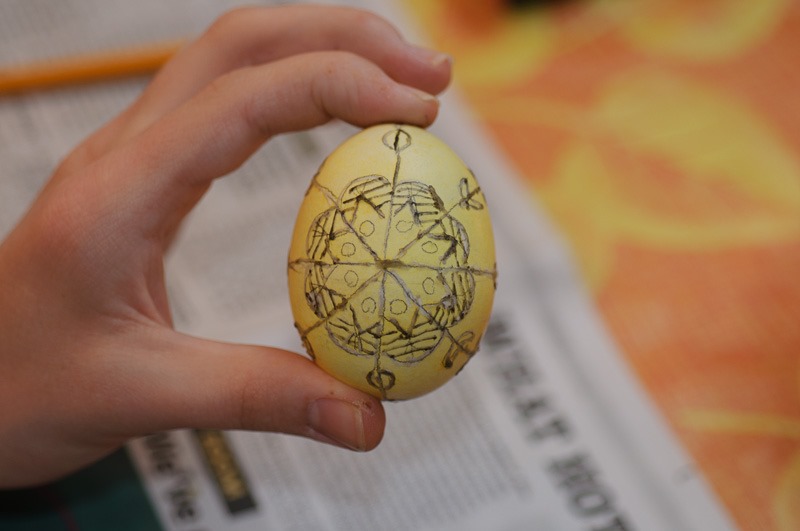 Dye and wax together
After a few minutes you take out the egg, it will be coloured all over. Really? No. The parts you covered in wax are not touched by the dye. Now you can gently clean off all the excess dye and dry it. After a few minutes it is time to remove some of the wax using the candle. And here comes the kicker. If you heat up the egg close to the flame, the wax will melt and you can wick it away with a soft cloth or tissue.
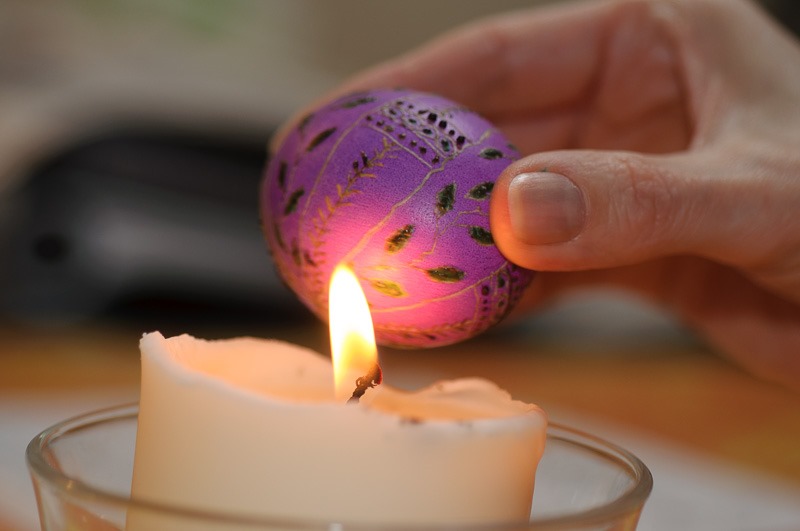 Close, not IN the flame
Hold the egg in the flame and it will turn black. Next egg! So now you repeat the next colour in the series, wax it, dye it, clean it and repeat as many times as you have colours. Remember that blue on yellow dye will give you a green colour and so on.
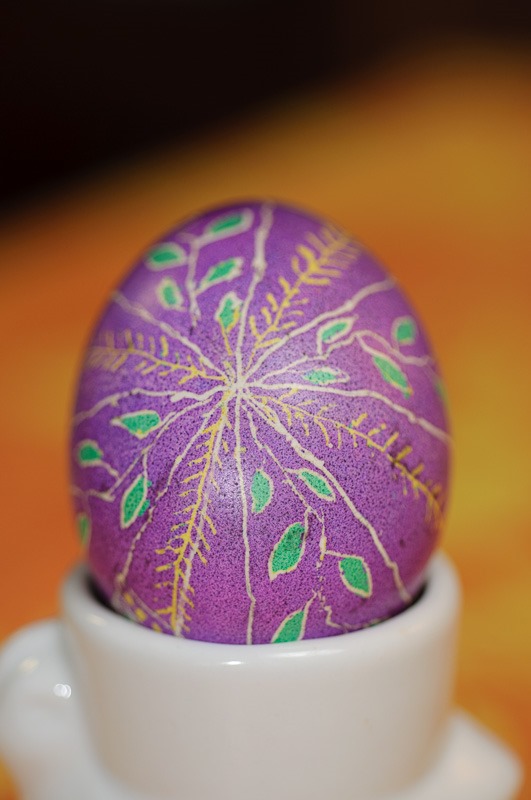 Finished home-made Pysanka
Note that good instructions on how to proceed with each colour and layer of wax are crucial for beginners. Easter Egg veterans should be doing this with their eyes closed.
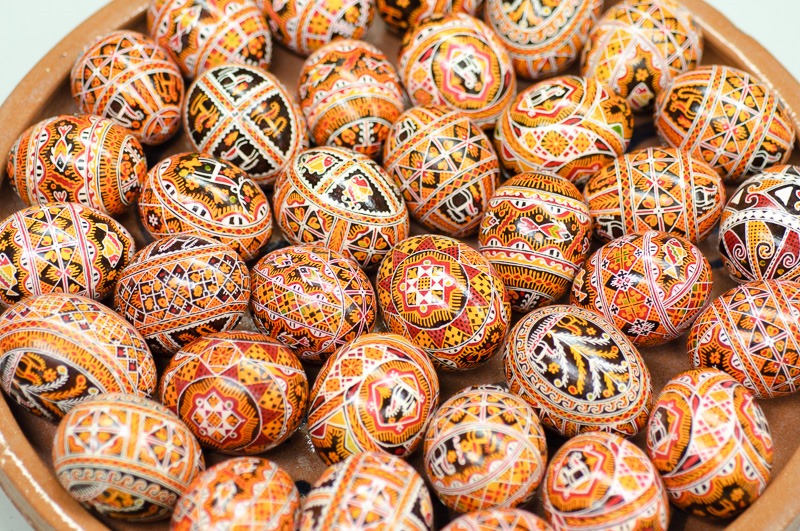 A basket full
Should you not succeed with your eggs, break them, or they turn out black, you can always find some completely prepared eggs at Kalyna on Main Street. That’s where I got the kit to make my own Pysanky. These eggs really brighten up your Easter Breakfast table!
Until next time…
